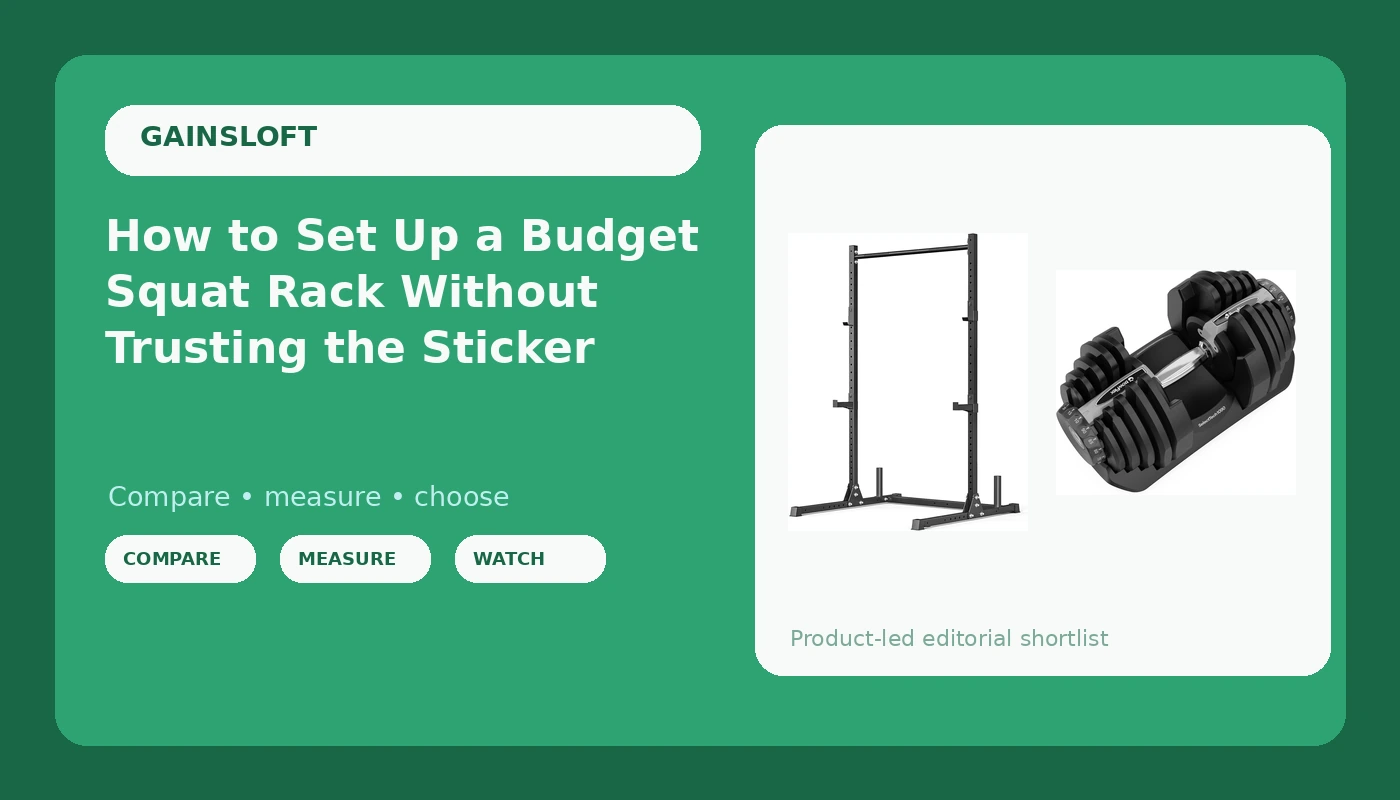
Most budget squat rack setup advice starts when the box hits the driveway and ends the moment the bar sits in the J-hooks. That is assembly, not setup. It tells you nothing about the thing that actually matters, which is what happens the first time you miss a rep at a weight that scares you.
I have built and loaded nine racks in six years. One bowed under me at 405. One wall mount pulled its top bolts out of a stud. I keep a grease pencil logbook on every one of them: tube gauge, weld penetration, bolt torque, and the exact weight where the wobble starts. That logbook is why this budget squat rack setup workflow exists, and it is why step one is not "bolt the uprights together."
A rack that wobbles at 315 will kill you at 405. There is no negotiation on that. So here is the whole workflow, from unboxing to the first heavy set, plus the two pieces of gear I would put in this setup before anything else.
Why you should trust me
I'm Andre, and I have been under a bar for 15 years with a raw 500 pound squat and a 605 pound deadlift. My gym is a garage in Charlotte that I built bolt by bolt after my old gym doubled its membership price in 2019. Before I moved into industrial maintenance I spent four years as a welder's apprentice, which is why I read a rack the way other people read a spec sheet. I am not buying steel. I am buying the welds that hold the steel together.
The failures I have seen were not exotic. They were a base plate that flexed, a J-hook that tipped on a crooked re-rack, a wall mount hung on drywall because the stud was four inches off center. All three are preventable with an afternoon and a torque wrench.
How I picked and how I tested
This article is about setup, not shopping, but you cannot set up what you should not have bought. So the criteria behind the gear below are the same criteria behind the workflow.
For a rack: real steel gauge measured with calipers instead of read off a sticker. Weld penetration at the base plates, the crossmembers, and the J-hook brackets. Grade-8 hardware instead of whatever came in the bag. J-hooks thick enough that they do not tip when you re-rack crooked. A base that either does not move under load or can be anchored so it does not. And a pull-up bar that does not turn the whole frame into a tuning fork.
I do not repeat a capacity claim I have not checked against the tube gauge. That rule is the spine of everything below.
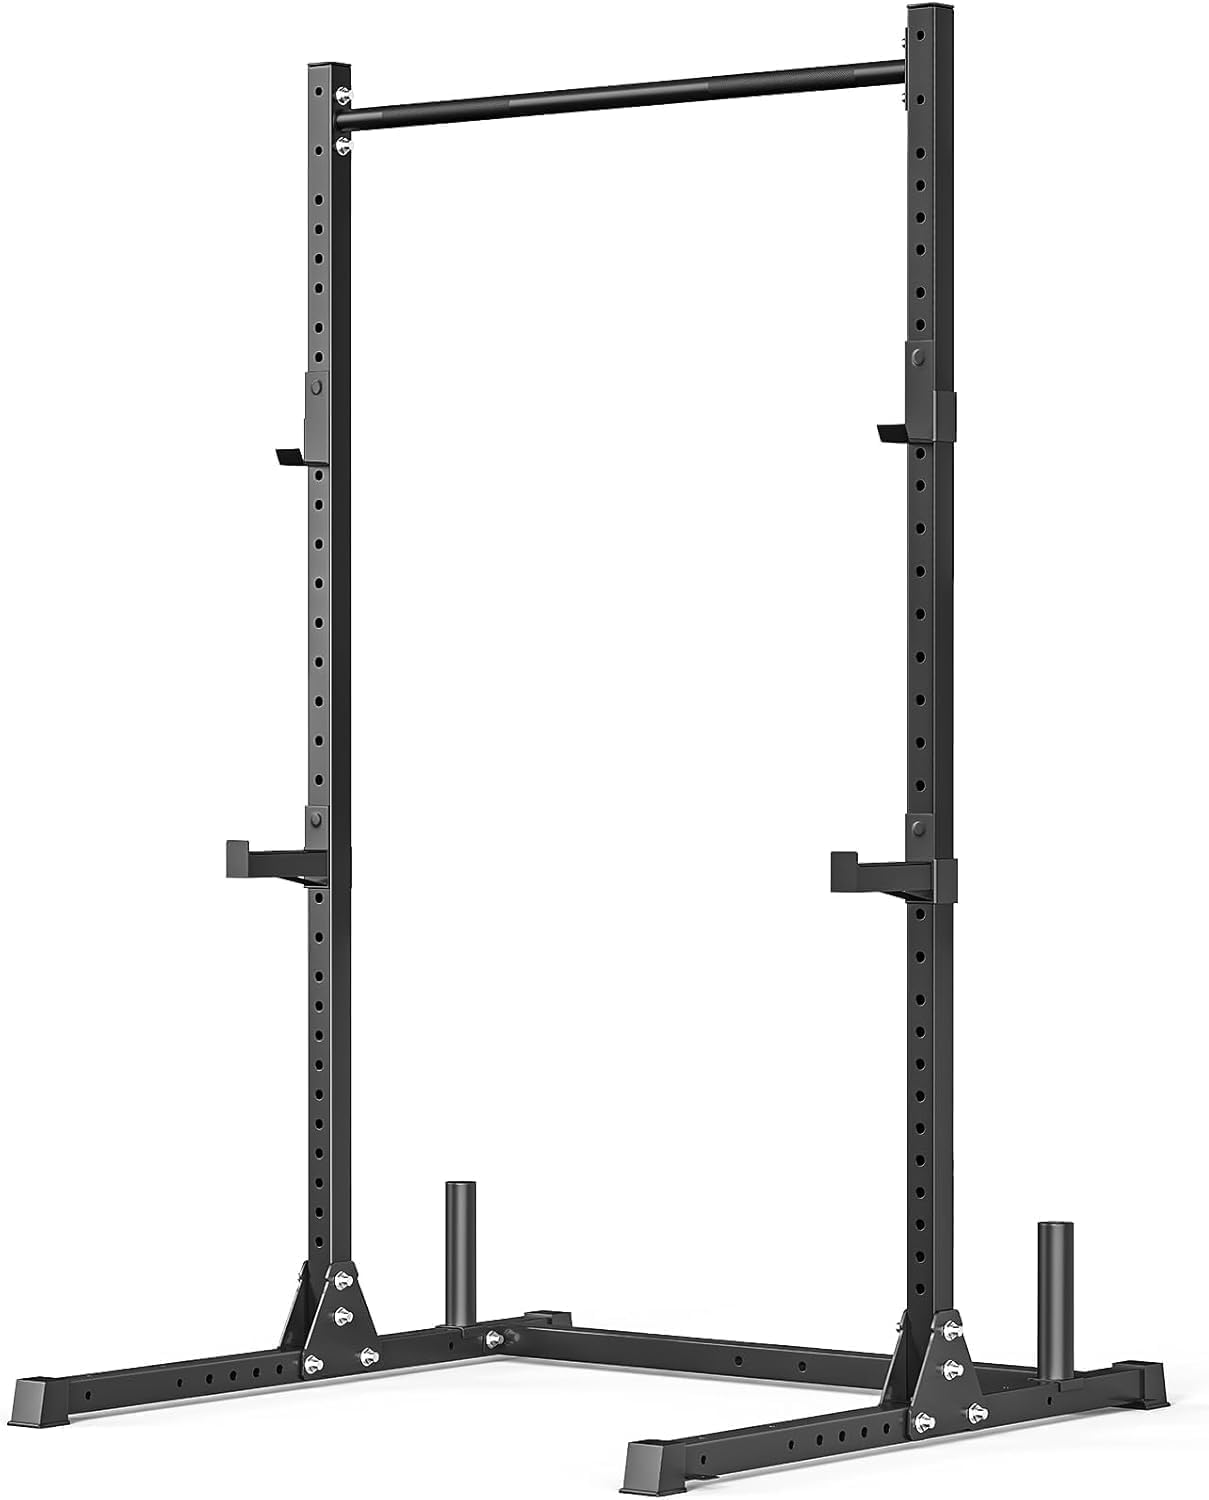
Budget pick: 800LB Capacity Squat Rack with Pull Up Bar, Adjustable Power Cage, Home Gym
 Visit on Amazon →
This is the rack the workflow below is written around: an adjustable power cage with a pull-up bar, sold with an 800 pound capacity claim. Treat that number the way I treat every number on a budget rack. It is a claim until you put calipers on the upright and your eyes on the welds.
What I like is the shape of it. A full cage with adjustable J-hook heights and a pull-up bar in one frame covers squats, bench, overhead press, and every pull-up variation without buying a second piece of equipment. For a garage, a basement, or a rental where you are not drilling into the floor, that footprint does a lot of work.
What I do not like is the same thing I do not like about every rack in this price class: the sticker is doing more marketing than the steel is doing engineering. Before you load it, run steps two through four below. Measure the tube, read the welds, check the hardware. If the frame is honest, you have a real rack for a lifter who squats moderate loads and wants a cage, not a stand. If the tube measures thin, keep your working weight where the steel actually lives and let the sticker be a sticker.
Flaws but not dealbreakers: The capacity number and the hardware are the two things to verify before you trust it. Neither is a reason to walk away. Both are reasons to read the rest of this article before you load a bar.
Anyone building a first garage gym on a tight budget, or fitting a rack into a low-ceiling basement or a rental, will get real use out of this frame. Anyone chasing a squat north of what thin-wall steel can hold should buy steel first and features second.
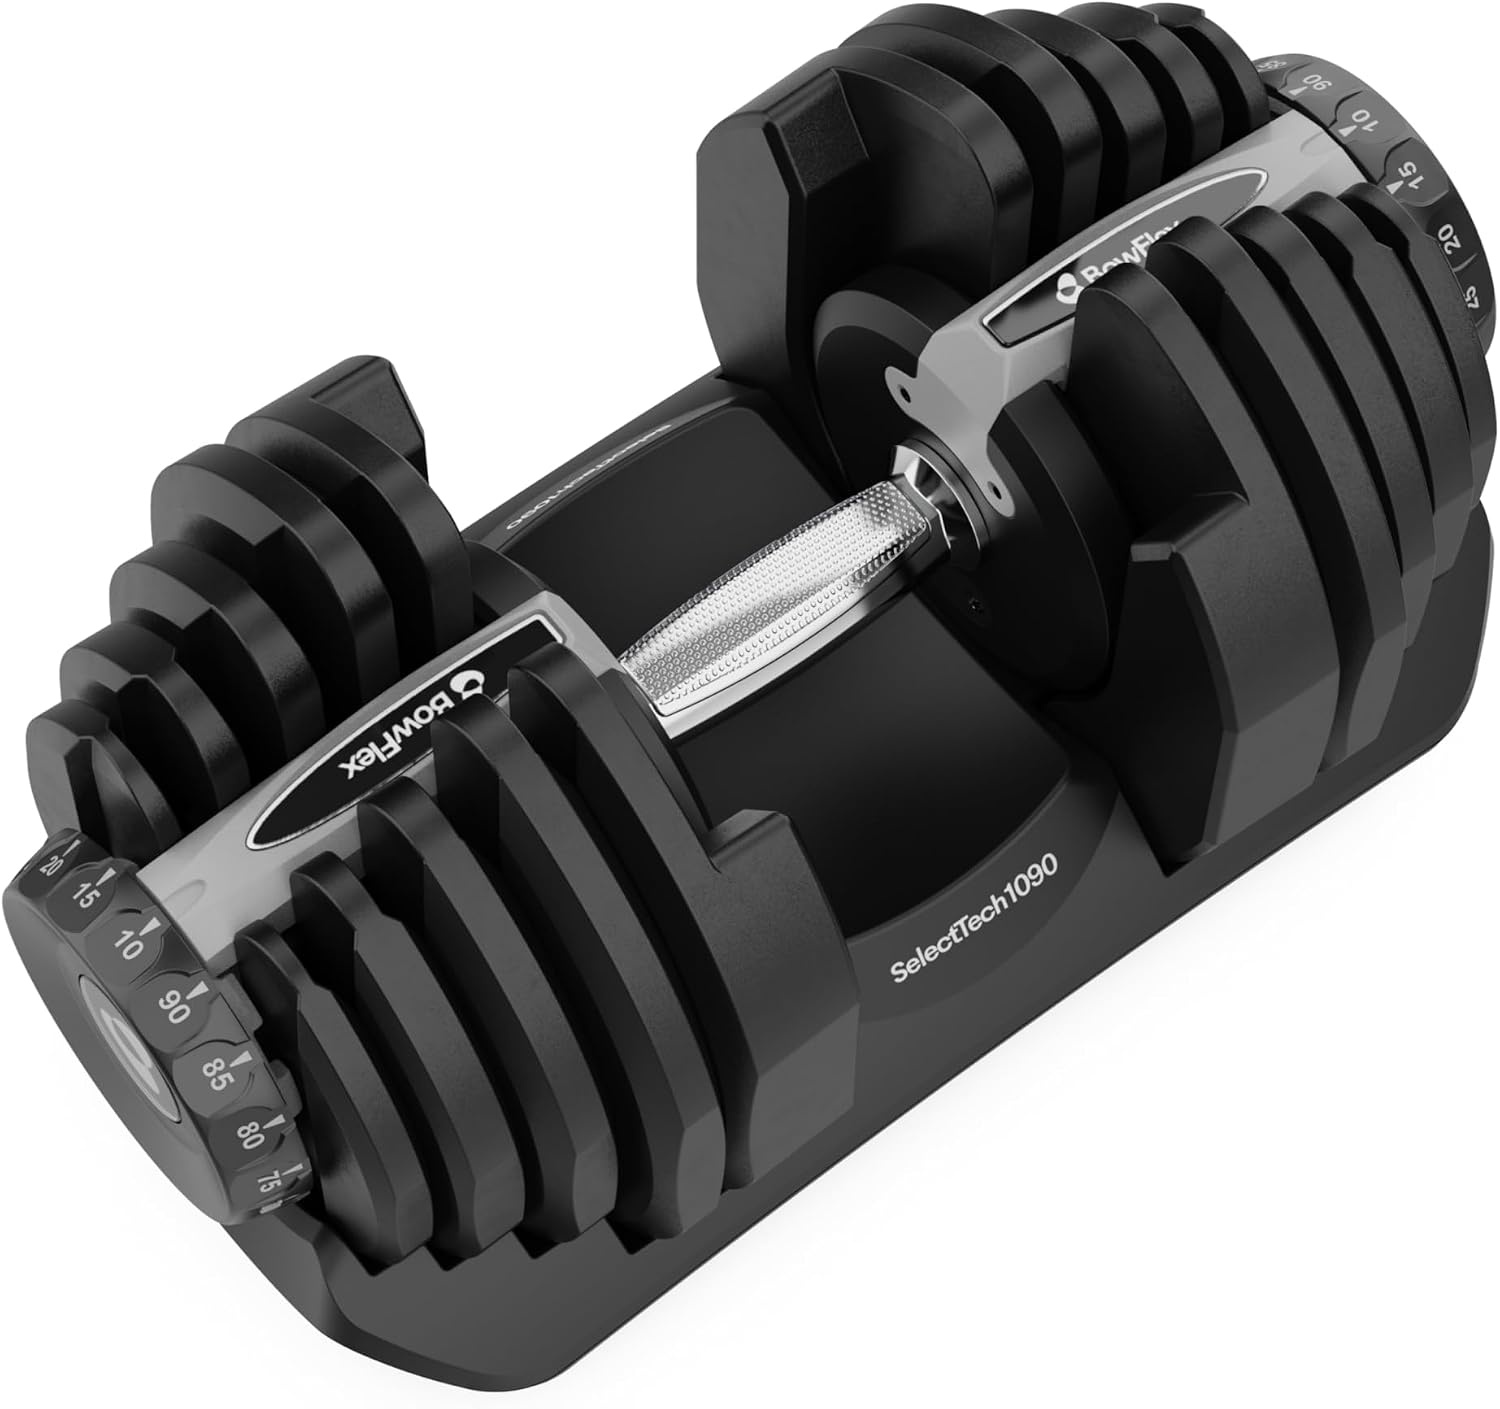
Space saver pick: BowFlex Results Series 1090 SelectTech Single Dumbbell
 Visit on Amazon →
This one is not a rack and it does not pretend to be. It is a single adjustable dumbbell, and it earns its place in this setup for one reason: square footage.
A rack takes the middle of the room. A dumbbell takes a corner. One adjustable dumbbell covers one-arm rows, single-arm presses, split squats, and every unilateral movement that keeps a squat from being the only thing your body knows how to do. If you are setting up a garage gym and you cannot fit a full dumbbell set, one adjustable dumbbell is the highest exercise-per-square-foot purchase in the room.
Buy it as a pair if you want pairs. Buy one if you want the corner back.
Flaws but not dealbreakers: It is sold as a single, so the cost is for one dumbbell, not two. Adjustable dumbbells also live longer when they are set down rather than thrown. Set it down.
Anyone in a small space who wants accessory work without a wall of fixed dumbbells should start here.
The setup workflow
Now the part you came for.
Step one: Pick the spot before you build anything. Measure your ceiling against the height of the pull-up bar and the top of the uprights, and remember that your head goes above the bar when you press. Check for garage door tracks, openers, light fixtures, and anything you will eventually hit. Leave enough room behind the rack to load a plate on the bar and enough room in front to dump a failed rep without landing on your bench.
Step two: Read the steel before you read the sticker. Calipers on the upright tube, in a few spots, because thickness varies. The standard for a serious rack is 11-gauge, about 0.12 inches. If the upright measures noticeably thinner than that, you now know exactly what the capacity sticker is worth, and you can set your working loads accordingly. This is the step almost nobody does, and it is the one that matters most.
Step three: Inspect every weld. Start at the base plates where the uprights meet the feet. Then the crossmembers. Then the J-hook brackets. A good weld penetrates into both pieces of metal. A bad one sits on top like a bead of caulk. Look for undercut along the toes, porosity, spatter, and any gap where the two pieces of steel were never actually fused. A pretty bead with no penetration is a lie wearing a tuxedo.
Step four: Check the hardware. Grade-8 bolts are a load path. Hardware store bolts are a hope. If the bag in the box feels light on quality, replace the bolts before you build the rack, not after it moves.
Step five: Level the frame. Garage slabs slope toward the door. Basement slabs are not flat. Get the rack level with shims or adjustable feet before you tighten anything down, because a rack that rocks on two corners will walk under load.
Step six: Decide anchored or flat-foot, and commit. Flat-foot is fine if the frame is stiff and your loads are moderate. If the frame moves when you re-rack a heavy bar, anchor it. Into concrete, with anchors rated for the job, not into drywall and not into a stud you guessed at. If you run a wall-mounted rack, hit the stud dead center or do not hang your face from drywall. I have watched a top bolt come out of a stud. It is loud.
Step seven: Set the J-hooks and the safety bars together. J-hook height is about your comfortable unrack. Safety height is about where a failed rep lands on the safeties with the bar still above your chest or below your neck, depending on the lift. Set both with an empty bar and lie under it. If you cannot get out from under a failed rep, the safeties are decoration.
Step eight: Run a load progression before you need it. Empty bar first. Then half your working weight. Then eighty percent. Then a full working set. At each step, watch the base plates, the uprights, and the J-hooks. If something moves at half your working weight, you have a setup problem, and finding it with a light bar is the entire point.
Step nine: Re-torque and mark everything. Bolts loosen in the first month. Re-check them after the first week, then monthly. Draw a grease pencil line across each bolt head and the plate it sits on. If the line breaks, the bolt moved. That is your early warning system and it costs nothing.
Step ten: Fix the floor. Rubber over concrete. Not carpet over a pad, which lets a rack walk. If you deadlift in the same space, keep the rack out of the bar path and put the platform where it belongs. Anchors and flooring are where a garage gym gets expensive, so plan them before you drill.
Where budget rack setups go wrong
Every failure I have seen came from one of six places. Trusting a capacity sticker instead of measuring the tube. Hardware store bolts in a load path. Safety bars set too low to catch anything. Anchors driven into drywall or a guessed stud. A frame that was never leveled, so it rocked from day one. And the big one, buying a cheap rack and bolting it to the floor instead of buying a rack that did not need it.
None of those are equipment problems. They are process problems, and the process is ten steps long.
What this all costs
The rack is the cheapest part of a safe setup. The anchors, the flooring, and the afternoon you spend leveling, torquing, and load testing are what turn a frame into a piece of equipment you can trust with a missed rep.
You can check current Amazon price on both pieces through the links above. Everything else, the torque wrench, the shims, the anchors, the rubber, is a trip to a hardware store and a Saturday.
Here is the math that matters: a rack that holds at your working weight costs you one afternoon. A rack that does not costs you a lot more than that, and it does not send an invoice. It just waits until the day you need it.
Do the ten steps once. Log the bolt torque. Draw the grease pencil lines. Then squat.