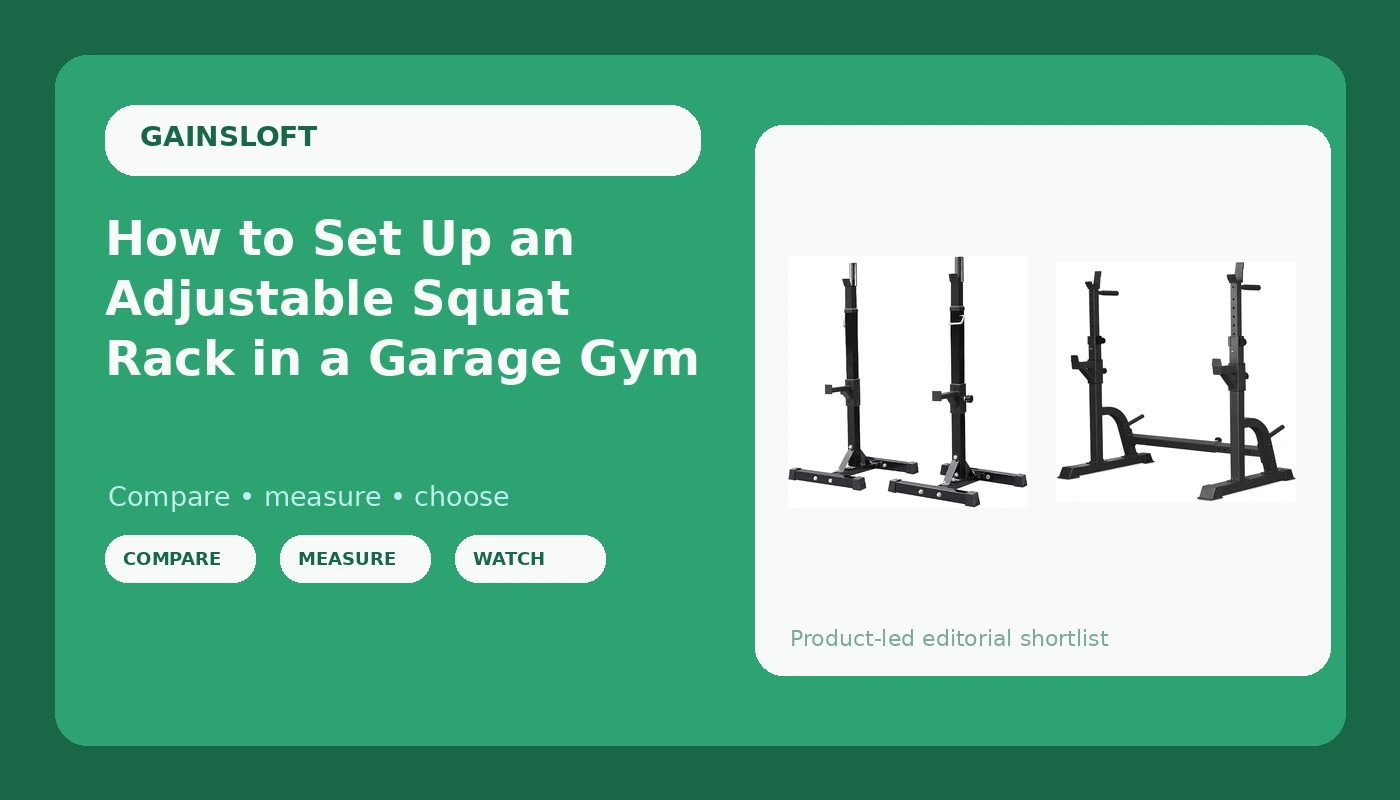
Most people build a home gym backwards. They buy the bar, then the plates, then a bench, and only after the first genuinely scary failed rep do they think about what was supposed to catch it. If you train alone in a garage, an adjustable squat rack for home gym work is the decision everything else hangs off of, because it is the one piece of equipment that has to catch you when you have nothing left to give.
I am Andre. I have been powerlifting for fifteen years with a raw 500 lb squat and a 605 lb deadlift, and I built the garage gym in Charlotte bolt by bolt after my old gym doubled its membership price. Before I moved into industrial maintenance I spent four years as a welder's apprentice, which is why I read welds the way other people read spec sheets. I have assembled, loaded, and deliberately abused nine squat racks in six years, and I keep a grease-pencil logbook on every one of them: tube gauge, weld penetration, bolt torque, and the exact weight where the wobble starts.
This is a how-to, not a shopping list. The two racks below are the ones that fit the entry tier of this job, and both need the same setup: a level spot, hardware torqued in the right order, j-hooks at the right height, and a load test you run yourself before you trust a real working set to them. Do the steps in order and you will know more about your own rack than the person who sold it to you.
Why you should trust me
I have failed a squat at 495 lb and listened to the safety bars take it. That sound is the whole reason I care about this. Everything else in a garage gym is replaceable. The rack is the piece that has to outlive the bar, the plates, the bench, and probably the house.
My rules are not complicated. A rack that wobbles at 315 will hurt you at 405, and there is no negotiating with that. Bolt-together construction is fine, wobble is not. You are not buying steel, you are buying the welds. If a bench folds in half when you drop 275 on it, the capacity sticker on the frame is a legal document, not a fact.
I do not recommend a rack without loading it at or above the weight it claims to hold, and I do not trust a capacity number I have not checked against the tube gauge with calipers. That standard is why the list below is short.
What a squat stand actually has to do
Strip away the marketing and an adjustable squat stand has three jobs. It has to hold a loaded barbell at a height you can unrack from. It has to hold that same barbell at a height you can dump it onto when a rep dies. And it has to do both of those things without walking across the floor or folding sideways while you are underneath it.
Three things decide whether it can. Steel thickness comes first. Serious racks are built from 11-gauge tube, which is roughly 0.12 inches of wall. Thinner tube flexes, and flex at the uprights turns into a sway at the hooks, which turns into a bar that comes down somewhere other than where you planned.
Welds come second. A pretty bead with no penetration is a lie wearing a tuxedo. Look at the inside corners where the uprights meet the base, because that is where the load actually goes.
Hardware comes third. Grade-8 bolts and thick washers hold torque. Hardware-store bolts stretch, loosen, and back out, and they do it quietly over months of use. If a rack ships with soft hardware, replace it before you assemble anything.
Everything else, the powder coat, the laser-cut logo plate, the phone holder, is decoration. Decoration does not catch a missed rep.
How I judge an adjustable rack before it goes in the garage
I check six things in this order, and I check them before the rack earns a spot on the floor.
- Tube gauge. Sticker or calipers. I want to know what the uprights actually measure, not what the product page claims.
- Weld penetration at the base joints and at the upright gussets. If the weld sits on top of the metal instead of fusing into it, the rack is a costume.
- Hardware grade and count. A rack with four bolts per joint and grade-8 hardware is a rack I will trust. A rack with six soft bolts is a rack I will re-drill.
- J-hook design. Cheap hooks bend and tip when you re-rack crooked. That is a real failure mode, not a cosmetic complaint.
- Base geometry. A flat-foot base that sits wide is stable on concrete. A narrow base with a tall upright is a lever, and you are the load.
- The adjustment joint. Any adjustable stand has a pin or a collar where the upright changes height. That joint is where wobble is born. Grab the upright, load it, and watch that joint specifically.
That last one is the reason adjustable stands get a bad name, and it is also the reason they are worth owning if you set them up right.
Two adjustable squat racks to start with
Both of these are entry-tier adjustable stands. Neither is a full power rack, and I am not going to pretend otherwise. What they are is a way to squat and bench safely in a garage, a spare room, or a rental where you cannot bolt a cage to the slab.
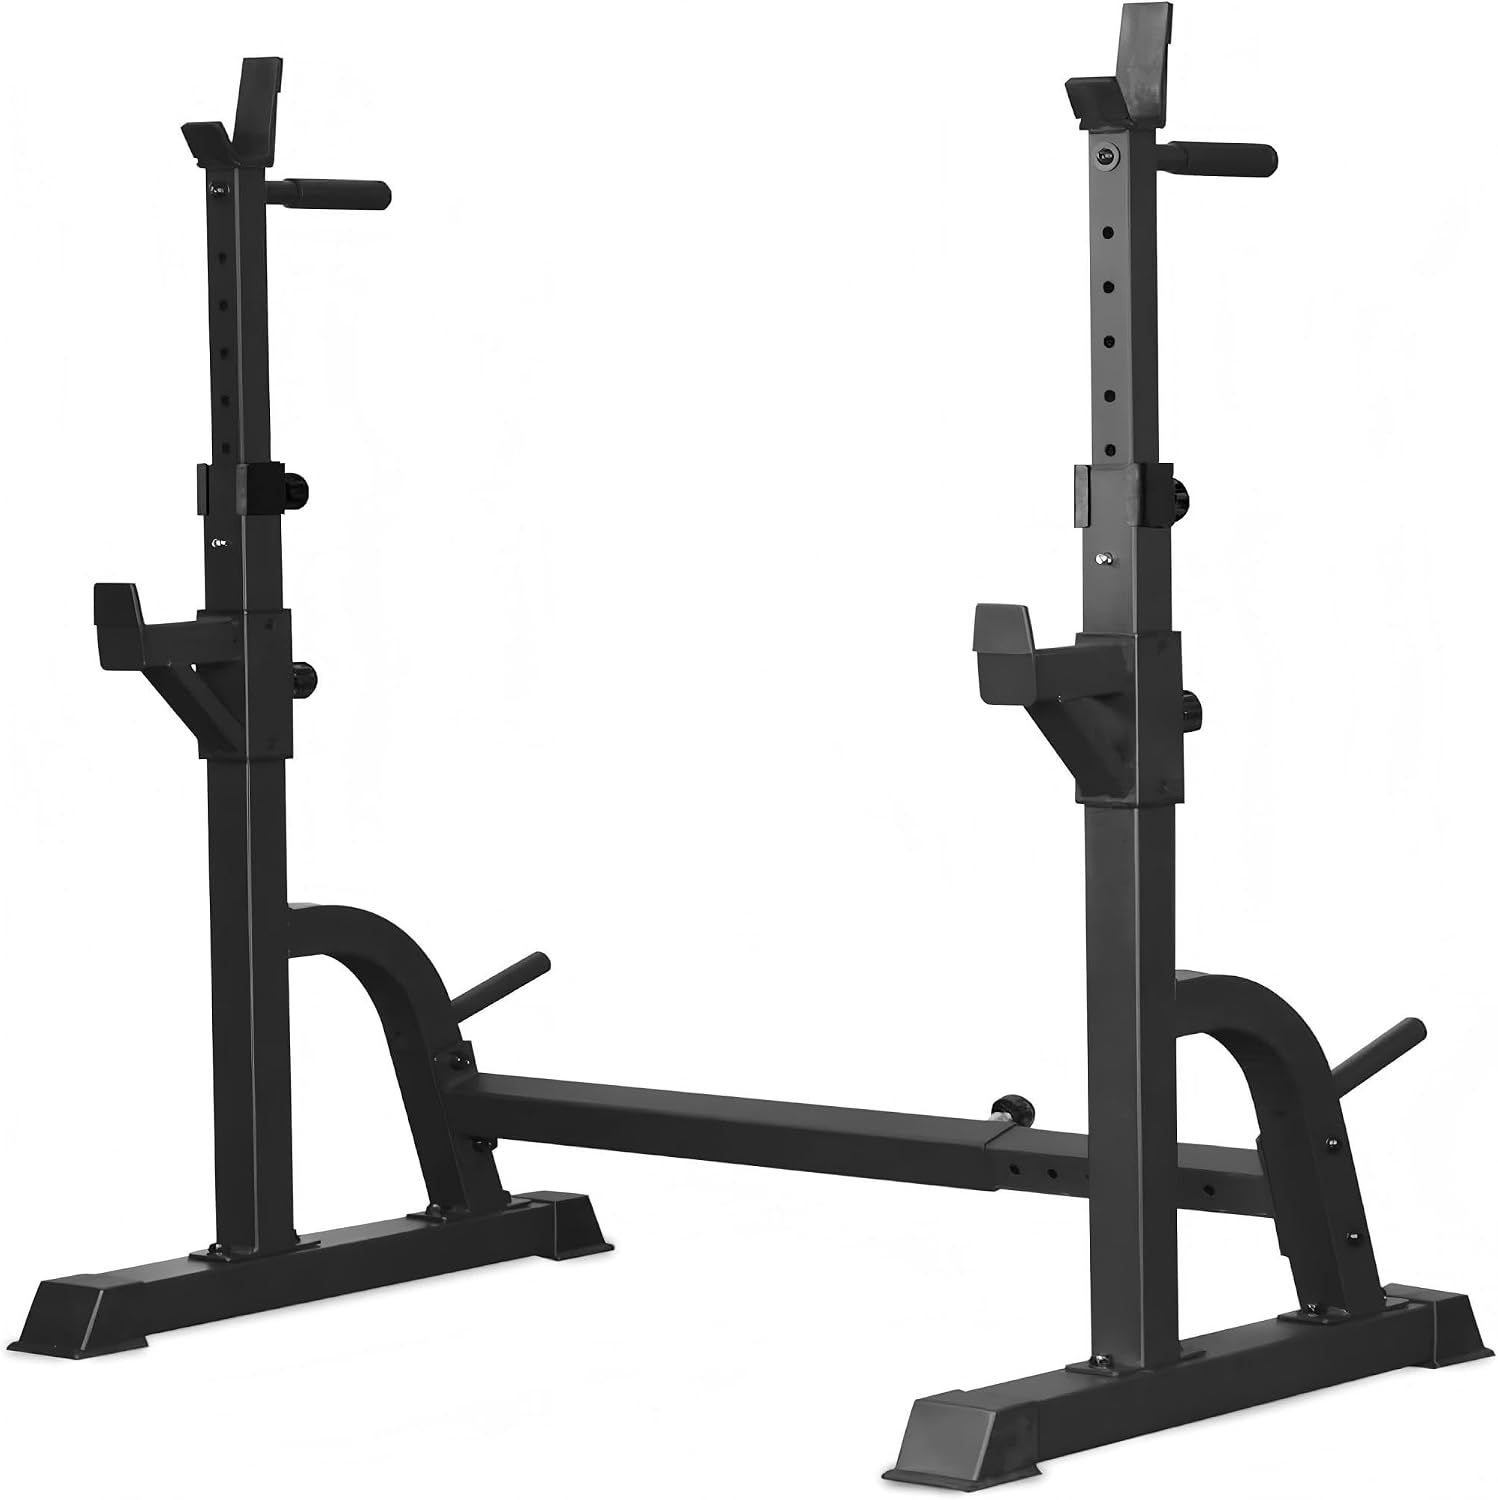
The heavier-rated pick: BARWING Adjustable Squat Rack, 1250 LB Barbell Stand for Home Gym
 Visit on Amazon →
The name on this one carries a 1250 lb capacity claim, and that number is the first thing I would interrogate. A claim that high only means something if the tube is thick enough and the welds penetrate deep enough to back it up. Check the gauge yourself, look at the base joints, and confirm the hardware is grade-8 before you torque anything. If those three check out, you have a stand that will handle a serious working squat for a long time.
The adjustable uprights are the practical selling point. You can set the j-hooks at a squat height, drop them for bench press, and raise them again for overhead work without owning three separate pieces of equipment. In a garage where floor space is the scarcest resource you have, that matters more than any spec on the box.
Flaws but not dealbreakers: An adjustable stand trades rigidity for range, and the height joint is where you will feel it. Torque the hardware, re-check it after the first session, and load the stand in steps the first time so you learn where your unit starts to move. If it moves at a weight you actually train with, send it back.
Anyone squatting and benching alone in a garage, a basement, or a rented space where drilling the slab is not an option should start here.
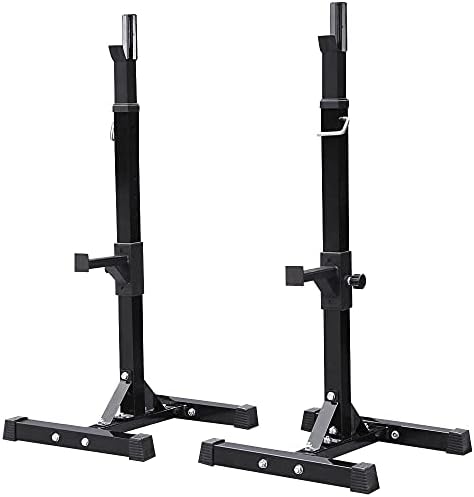
The budget pair: Yaheetech Adjustable Squat Rack Pair, Barbell Bench Press Stands, Home Gym
 Visit on Amazon →
This is a pair of independent stands rather than a single connected frame, which changes the setup job completely. Two separate uprights mean two separate footprints, two separate level checks, and two separate heights that have to match to the millimeter or your bar sits crooked in the hooks. Measure from the floor on both sides, not by counting holes on the upright.
The upside of a pair is flexibility. You can widen the stance for a wider grip, narrow it for a tight setup, and move the whole thing out of the way when you are done. The downside is that nothing ties the two sides together, so the discipline is on you: same height, same torque, same distance from the wall, every single session.
Flaws but not dealbreakers: Independent stands give you nothing to brace against. If you are the kind of lifter who drifts sideways under a heavy squat, a connected frame or a cage will serve you better. For bench press and lighter squat work in a tight space, the pair format is genuinely useful.
Anyone in a small apartment or a shared garage who needs equipment that disappears into a corner between sessions should look at this pair.
The setup, step by step
Now the part that decides whether either rack is safe.
Step one: pick the spot and read the floor. Concrete is the standard. Check for slope with a level, because garage slabs drain, and a rack sitting on a slope loads one upright harder than the other. Look for cracks and control joints too. If you are on a wood subfloor or a second floor, stop and think hard about the load path before you go further.
Step two: check your clearances. An Olympic bar is roughly seven feet wide with plates loaded, and you need room to walk around it. Measure your ceiling height against the tallest setting you plan to use, and measure the distance to the wall so you can load plates without hitting anything.
Step three: mark the footprint. Set both uprights where they will actually live, with the bar in the hooks, and stand behind the bar like you are about to squat. If your feet are on a seam in the concrete or your head is under a garage door track, move it now.
Step four: level the base. Use a level across the base tubes and up the uprights. Shim if the floor demands it. A rack that leans will pull your squat lean with it.
Step five: torque in a cross pattern. Tighten the base joints like you would a wheel, working opposite corners in sequence rather than running around the frame in a circle. Then go back and hit every bolt again at the same torque. Re-torque after your first real session, because new joints settle.
Step six: set both sides to the same height. Measure from the floor to the top of each j-hook, not hole to hole. Small manufacturing differences show up here, and a bar that sits uneven in the hooks rolls when you unrack it.
Step seven: set your safeties or spotter arms. More on this below, because it is the step people get wrong.
Step eight: load test before you train. Empty bar first. Then add weight in even jumps and watch the base joints, the height joints, and the floor contact points at each step. Do this while you are standing beside the rack, not under it. If anything shifts, flexes, or makes a noise you cannot explain, stop and fix it.
Step nine: re-check everything after week one and then monthly. Torque, wobble, and floor contact. Bolts loosen. That is not a defect, that is physics.
Where people get the safeties wrong
The safety bars are the entire reason you bought a rack instead of a pair of sawhorses, and they are the part people set up worst.
Set them so the bar touches down just below the bottom of your squat, not at it. Too high and you will clip them on a good rep and get stapled. Too low and you cannot dump the bar and crawl out from under it. The test is simple: with an empty bar, get into the bottom position and see whether you can set the bar down and stand up. If you cannot, move them up a notch.
Check the rating on the safeties themselves, not just the rack. If the spotter arms are rated below the weight you squat, they are decoration. And practice the bail once with a light load so your body knows what to do before it needs to.
When a squat stand is the wrong answer
An adjustable stand is not always the right tool, and I would rather tell you that than sell you one.
If you train alone at heavy percentages, a full power rack with fixed uprights and a bolted base is more stable than any adjustable stand, and stability is the whole product. If you have a wall with studs in the right places, a wall-mounted rack saves a huge amount of floor, but only if you hit a stud dead center. Miss the stud and you are hanging your face from drywall. If you are putting a rack in a rental where you cannot drill anything, flat-foot is your category, and you accept the tradeoff.
And if you find yourself bolting a two-hundred-dollar rack to the floor to stop it moving, you bought the wrong rack. Spend the money on steel instead of anchors.
What this all costs
Both of the stands above sit in the entry tier for this category, and you can check current Amazon price on each listing directly from the links in their sections. The real cost of a home gym rack is not just the rack.
Budget for the setup, not just the steel. You may need shims, better bolts and washers than what shipped in the box, a torque wrench you will reuse for the rest of your life, and flooring if you are lifting on a slab you care about. None of that is glamorous, and all of it is what makes the difference between a rack that holds and a rack that wanders.
Spread across the years you will actually own the thing, the rack is the cheapest piece of equipment in your garage per session. The bar gets replaced. The plates get added to. The rack stays.
That is the job. Set it up like it matters, load test it yourself, and then go squat.