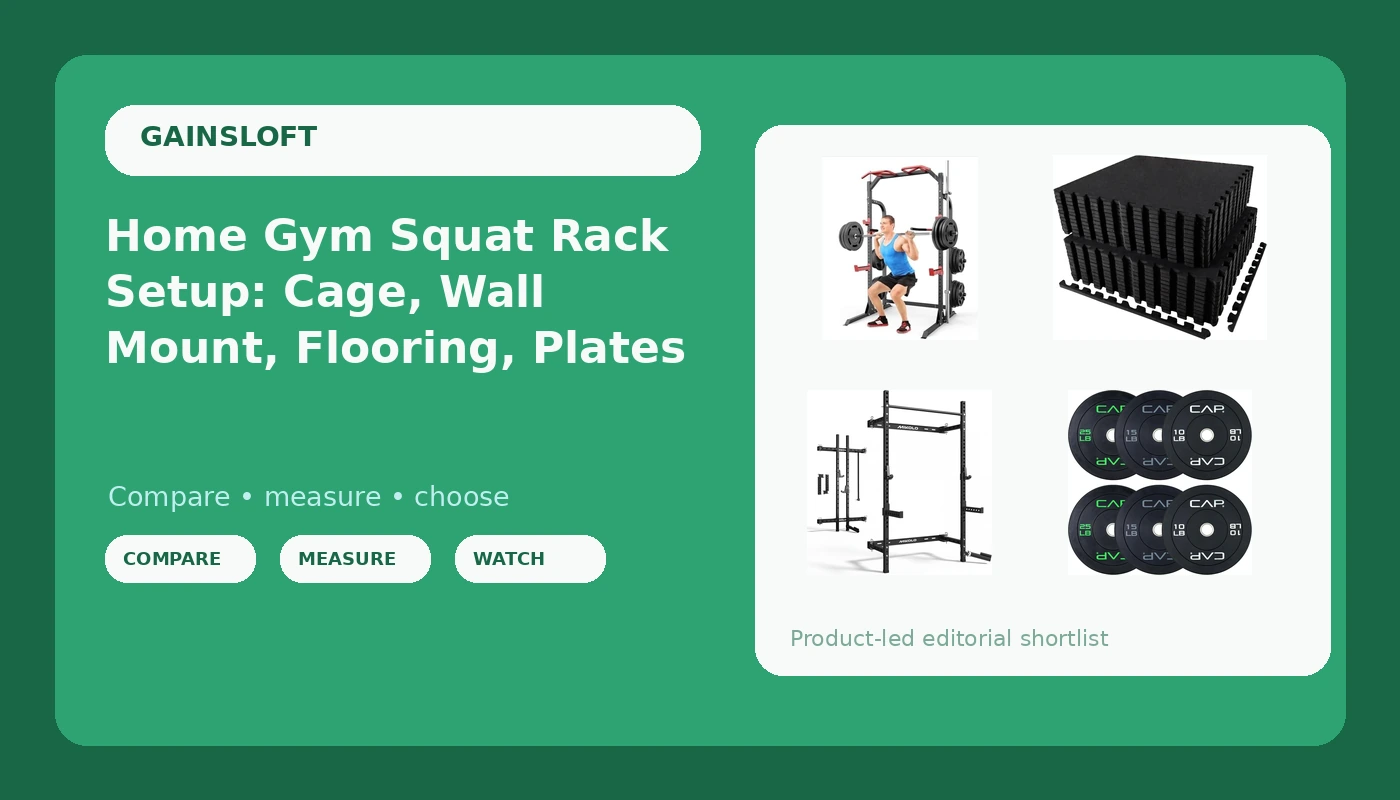
A home gym squat rack setup gets decided in a specific order, and most people work through it backwards. The rack gets bought first, and then the ceiling turns out to be two inches too low for a pull-up, or the one clean spot on the slab turns out to be the one place you are not allowed to drill. The rack is the piece of equipment that has to outlive everything else in the room, so the decisions around it, where it stands, what it fastens to, what sits under it, and what you hang on the bar, carry as much weight as the rack itself.
This is an explainer, not a ranking. Four products cover the four jobs in a small gym: a full power cage that handles squats, bench, and cable work in one footprint, a folding wall mount for anyone who needs the floor back when the session ends, interlocking flooring that can take a dropped plate, and an Olympic bumper plate set for the bar. Below is what each one does, what it does not do, and how to work out which combination your space can actually support.
Related: Squat Rack Steel Gauge: What 11-Gauge Actually Means →
Quick answer
Start with the room, then the rack, then the floor, then the plates. If you have a permanent corner and want one frame for squatting, benching, and cable accessories, a full power cage is the simplest answer. If the gym shares a wall with a car or a water heater, a folding wall mount is the answer, provided you can find two studs and hit them dead center. If the rack sits on bare concrete, interlocking flooring protects both the slab and your plates. Bumper plates come last, because how much weight you can safely drop depends on everything underneath it.
Four useful options
| Model | Best fit | What stands out |
|---|---|---|
| SunHome Power Cage Squat Rack | A permanent corner that has to cover squats, bench, and cable work | A full cage with a pulley system, adjustable cable crossover, J-hooks, dip handles, and weight plate storage |
| Mikolo 2" x 2" Folding Wall Mounted Squat Rack | Garages and shared rooms where floor space has to come back after training | Folds flat against the wall, 2 in x 2 in uprights, a stated 1000 lb capacity, pull up bar, and J hooks |
| AIRHOP Exercise Equipment Mats, 96 Sq Ft | Bare concrete under a rack and dropped plates | 24 interlocking 24 x 24 in tiles, 0.56 in thick, rubber top over high density EVA foam |
| CAP 2-inch Olympic Bumper Plate Weight Set | Filling the bar with plates that can take a drop | Olympic 2 in center hole bumper plates sold in sets from 100 to 370 lbs, multiple colors, optional storage rack |
The all-in-one frame: SunHome Power Cage Squat Rack
This is the option that replaces three purchases. A cage with a pulley system means you are not buying a separate lat tower or functional trainer six months from now, and the included dip handles and J-hooks remove two of the most common upgrade purchases people make after the fact. Plate storage on the frame is worth more than it sounds, because a few hundred pounds of iron hanging low on the uprights changes how the whole structure behaves when you rack a heavy bar.
The trade-offs are space and ceiling height. A full cage claims a permanent rectangle of floor, and a cable crossover adds width beyond the uprights, so measure the room before you measure your ambition. You also need clearance above the pull-up bar and enough depth behind the rack to step back with a loaded bar. If the room cannot give you that rectangle permanently, this is the wrong category, not the wrong brand.
The space-saver: Mikolo 2" x 2" Folding Wall Mounted Squat Rack
A wall mount is the right tool when the floor is not yours to occupy. It is also the category where installation quality decides everything, because the rack does not stand on its own base. It hangs its load on the wall, which means the wall has to be structural and the fasteners have to land in the middle of studs, not near the edge of one. If the wall is a furred-out partition over block, or the studs are 24 inches apart and steel, that is a different project than the one the box assumes.
Treat the stated 1000 lb capacity as the manufacturer's number and check it against the actual uprights and hardware in your hands before you trust it with a missed rep. Verify the stud layout and anchor specification first, then mount. A folding rack that folds cleanly and holds a heavy bar is a genuine win in a shared space. A folding rack that pulled its top bolts out of drywall is a story you do not want to tell.
The floor: AIRHOP Exercise Equipment Mats, 96 Sq Ft
Concrete in a garage is not a gym floor. It is cold, it is unforgiving, and it will chip under a dropped plate and crack under a rack that is not sitting flat. A tile system with a rubber top over foam gives you two things a bare slab does not: grip under your feet and a layer that absorbs impact instead of transmitting it into the concrete.
The trade-off is compression. Foam under a rack foot can make a flat-foot rack feel like it is standing on a sponge, which is why a lot of people cut the tiles to fit around the rack feet or set the rack on a sheet of plywood with the tiles filling the rest of the room. The rubber top matters here more than the total thickness, because plain foam dents and tears where a plate lands, while a rubber surface takes the hit and stays flat. Measure your rack footprint first, then decide how you want the tiles to meet it.
The load: CAP 2-inch Olympic Bumper Plate Weight Set
Bumper plates exist for one reason: they are meant to be dropped. If your training includes cleans, snatches, or heavy deadlifts you set down hard, rubber plates protect the bar, the platform, and the slab in a way iron cannot. They also take up more width on the sleeve at light weights, because a 10 lb bumper is a full diameter disc, and they cost more per pound than iron.
That means the set you buy should match the lifting you actually do. A lifter who squats, benches, and deadlifts inside a rack and never drops from overhead gets more useful pounds per dollar out of iron. A lifter who trains Olympic lifts, or who wants the option to bail a heavy pull without hearing the bar ring off concrete, is the person the 100 to 370 lb set range is built for. Buy the set that matches your working weights, not the one that looks best on the storage rack.
Prices and availability may change. Product images, names, and retailer links must be matched by verified ASIN. Do not state a current price, rating, stock status, or measured result without current evidence.
What actually keeps a rack steady
Steel thickness is the first thing to check and the hardest to see through powder coat. Eleven-gauge steel runs about 0.12 inches of wall thickness, and it is the standard serious racks are built from. Twelve-gauge is thinner. Fourteen-gauge is thinner still, and it flexes in ways you can feel at the top of a heavy squat, which is why a capacity sticker on a thin tube deserves a hard look rather than a nod.
Weld quality is the second. A weld is supposed to fuse into the base metal, not sit on top of it like a bead of caulk. You can often judge a rack by the welds where the uprights meet the base and where the crossmembers attach, because those joints take the load. Cosmetic beads on a rack that never sees real weight are decoration, and a rack is the wrong place for decoration.
The third is the connection method. Bolt-together racks are fine when the hardware is graded and the joints are designed to be tightened and re-tightened. Flat-foot racks rely on geometry and mass instead of floor anchors, which suits rental garages, but they give up some stability compared with a bolted base. Wall mounts transfer the entire load into the wall, so the wall and the anchors become part of the rack. Whatever you choose, re-check torque on every bolt after the first few sessions, because joints settle.
Finally, the floor. A rack on an uneven slab rocks no matter how good the steel is. A rack on compressible foam can feel soft underfoot at heavy loads. Level the surface, decide where the feet land, and only then assemble.
How to read a capacity rating
A capacity number is a claim about a static load under ideal conditions. It is not a promise about a missed rep at your working weight, and it does not automatically extend to the accessories bolted onto the frame. J-hooks and safety arms carry their own limits, and a rack rated for heavy work with hooks that bend on a crooked re-rack is a chain with a weak link in it.
The useful move is to compare the sticker against the tube gauge and the hardware. If the number is high and the steel is thin, believe the steel. If the safety arms are rated below what you squat, they are decoration rather than protection. Dynamic load from a dropped plate is a different problem than a bar sitting in the J-hooks, and that is exactly the problem bumper plates and flooring are meant to solve.
Work through it in this order:
- Measure ceiling height, usable width, and the depth you need to step back with a loaded bar.
- Find the studs or confirm the slab type before you commit to a wall mount or floor anchors.
- Decide whether the rack has to disappear between sessions, because that decision eliminates half the category.
- Choose the floor surface before the rack arrives, so the feet land on something level and stable.
- Buy plates last, sized to the lifts you actually train rather than the ones you plan to start.
Practical guidance
- Decide on anchoring before assembly, not after the rack is standing and you are tired.
- Check the grade of the hardware in the box and replace anything that looks like a hardware store bolt.
- Set safety arms at the height just below your bottom position, then test them with an empty bar.
- Keep a level on the floor and shim the rack feet if the slab is out, because a rocking rack never gets better on its own.
- Store plates low on the frame or on a rack rather than leaning them against a wall where they can slide.
Which option should you choose?
Choose the SunHome Power Cage Squat Rack when you have a permanent corner, enough ceiling for a pull-up, and you want squats, bench press, and cable accessories covered by one frame with the J-hooks, dip handles, and plate storage included. Choose the Mikolo 2" x 2" Folding Wall Mounted Squat Rack when the gym shares space with a vehicle or a workbench, and you can verify two structural studs before you drill. Choose the AIRHOP Exercise Equipment Mats, 96 Sq Ft when the rack is going on bare concrete and you want grip underfoot plus protection for the slab and your plates. Choose the CAP 2-inch Olympic Bumper Plate Weight Set when your training includes lifts you set down hard, or you want the option to drop a pull without damaging the floor.
Two caveats are worth carrying into the purchase. The stated capacities on any of these products are manufacturer figures, and the only way to judge them is against the steel, the welds, and the hardware in front of you. And nothing here is a substitute for installation done properly, because a wall mount is only as strong as the studs behind it and a cage is only as stable as the floor beneath it.
The bottom line
A home gym squat rack setup works when the decisions are made in the right order: the room first, the rack second, the floor third, the plates last. The SunHome cage covers the most ground in one footprint, the Mikolo folding rack gives floor space back in a shared garage, the AIRHOP tiles protect the slab under both, and the CAP bumper plate set is the piece that lets you drop a lift without regretting it. Get the steel and the mounting right, and the rest of the gym can change around the rack for years.