Most people build a budget home gym rack in the wrong order. They buy the stand, then spend two weekends hunting for a bar and plates that fit it, then find out the whole thing walks sideways when they re-rack 225 with a crooked hand. I have watched that happen in garages from Charlotte to Concord, and I have done a version of it myself.
The order that works is boring. Pick the stand, match the bar and plates to the stand, then decide where the stand lives and whether it gets anchored. Get that sequence right and a starter setup will carry you through years of real training. Get it wrong and you are the person on a forum asking why the uprights are leaning after six months.
This is not a review of the cheapest things on the internet. It is the setup procedure I would hand to a friend who has never bolted anything to a slab.
Why you should trust me
I have been powerlifting for 15 years, with a raw squat in the low 500s and a deadlift just past 600. Before any of that I spent four years as a welder's apprentice, which is why I look at a rack the way other people look at a spec sheet. I read the weld first, the tube gauge second, and the sticker on the box last.
I have assembled, loaded, and deliberately abused enough racks to know where starter equipment fails. It is almost never the steel. It is the assembly, the hardware, the safeties set at the wrong height, and a bar that does not match the plates. I keep a grease pencil logbook of every stand that has been through my garage, with tube thickness, bolt torque, and the weight where things start to move.
My rule for anything I recommend is simple. It has to survive a missed rep at the weight I actually train with, not the weight on the marketing sticker.
How I picked and how I tested
I am not going to pretend I put calipers on every piece of starter equipment on the market. What I did was run the same checklist I use on a $2,000 rack against the budget tier, and keep the two pieces that pass it.
The checklist:
- Tube gauge. Thinner steel flexes. Flex in an upright turns into a bar path problem, and a bar path problem at the bottom of a squat is how people get hurt.
- Weld quality. A fat, pretty bead with shallow penetration is a costume. You want visible fusion at the joint, not a bead sitting on top of it like frosting.
- Hardware. Grade 8 bolts or better. If the box ships with soft hardware store bolts, plan to replace them before you load the bar.
- J-hook behavior. The hooks should hold the bar without tipping when you re-rack slightly crooked. This is the most common failure on budget stands.
- The rating against reality. A capacity number is a manufacturer's ceiling, not a promise. Read it as the line where you stop.
Both pieces below pass that checklist at their price point. Neither is a forever purchase. Both will get a new lifter through the first two or three years of serious training, which is exactly what a starter setup should do.
The two pieces you need before you start
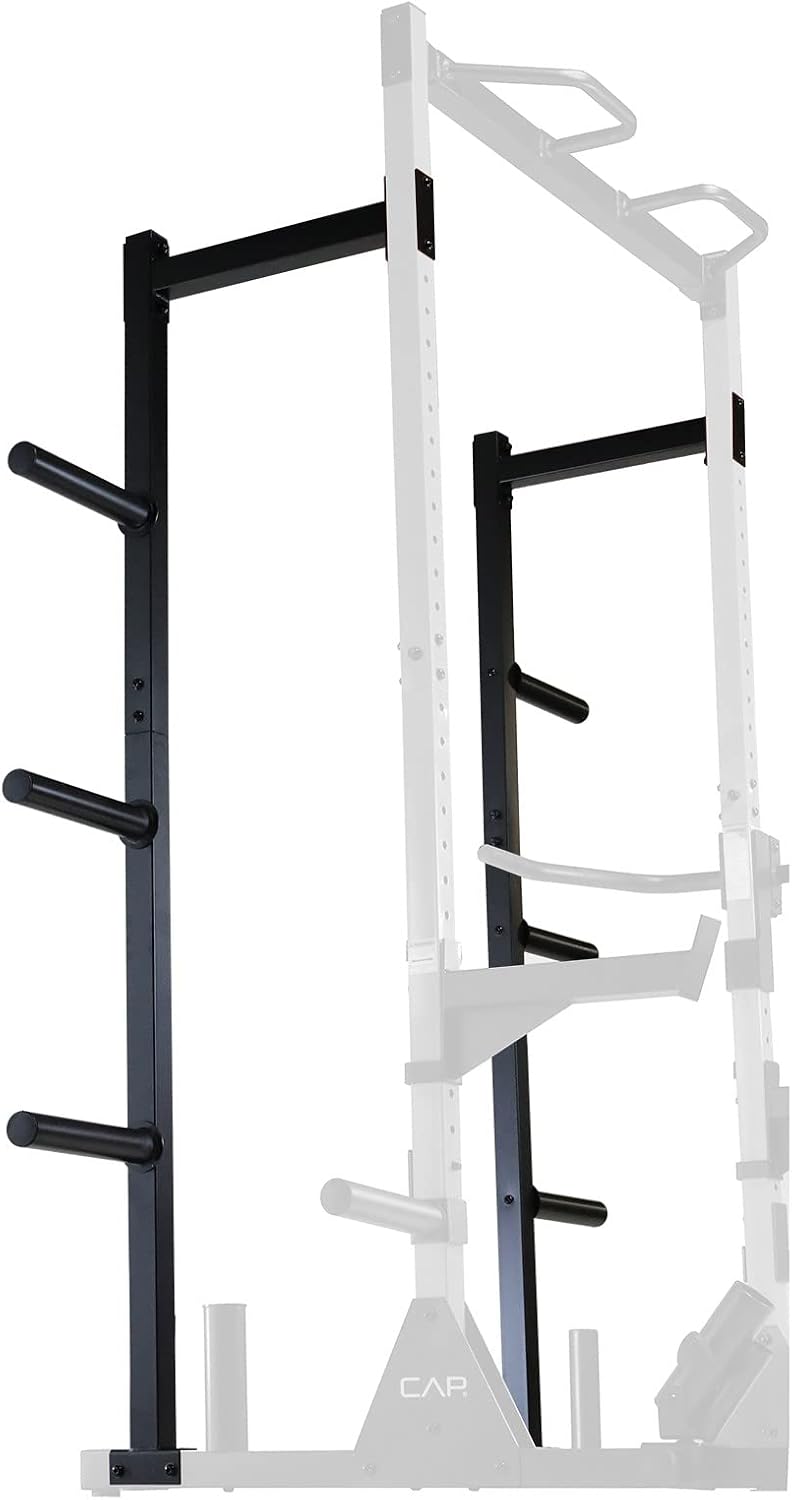
The rack: CAP Power Rack Stand with Pull-Up Bar, 500lb Capacity
 Visit on Amazon →
This is the stand I point beginners toward when the budget is tight and the ceiling is low. Check current Amazon price before you commit, because the listing moves.
What you are buying is a squat stand with a pull-up bar, not a full cage. That distinction matters more than any other line in this article. A stand gives you two uprights, a base, and j-hooks, which is all you need to squat and press. What it does not give you is a rear frame to lean on when a rep goes wrong, so your safeties and your setup discipline are doing the heavy lifting.
Read the capacity rating as the ceiling of the whole structure, not a suggestion. If your working squat is anywhere near that number, you are training at the edge of what the stand was built to hold, and you should either move up a tier or be very honest with yourself about where your limits are.
Flaws but not dealbreakers: A stand with a pull-up bar will move if you kip on it. Strict pull-ups, fine. Kipping on a 500 lb stand is asking the base to do a job it was not designed for.
Caveat before you buy: Check the base footprint against your space and the pull-up bar height against your ceiling before the box arrives. A stand that is two inches too tall for your garage is a return, not a setup.
This is for the lifter with a barbell, a pair of plates, and a concrete slab who needs somewhere to put the bar.
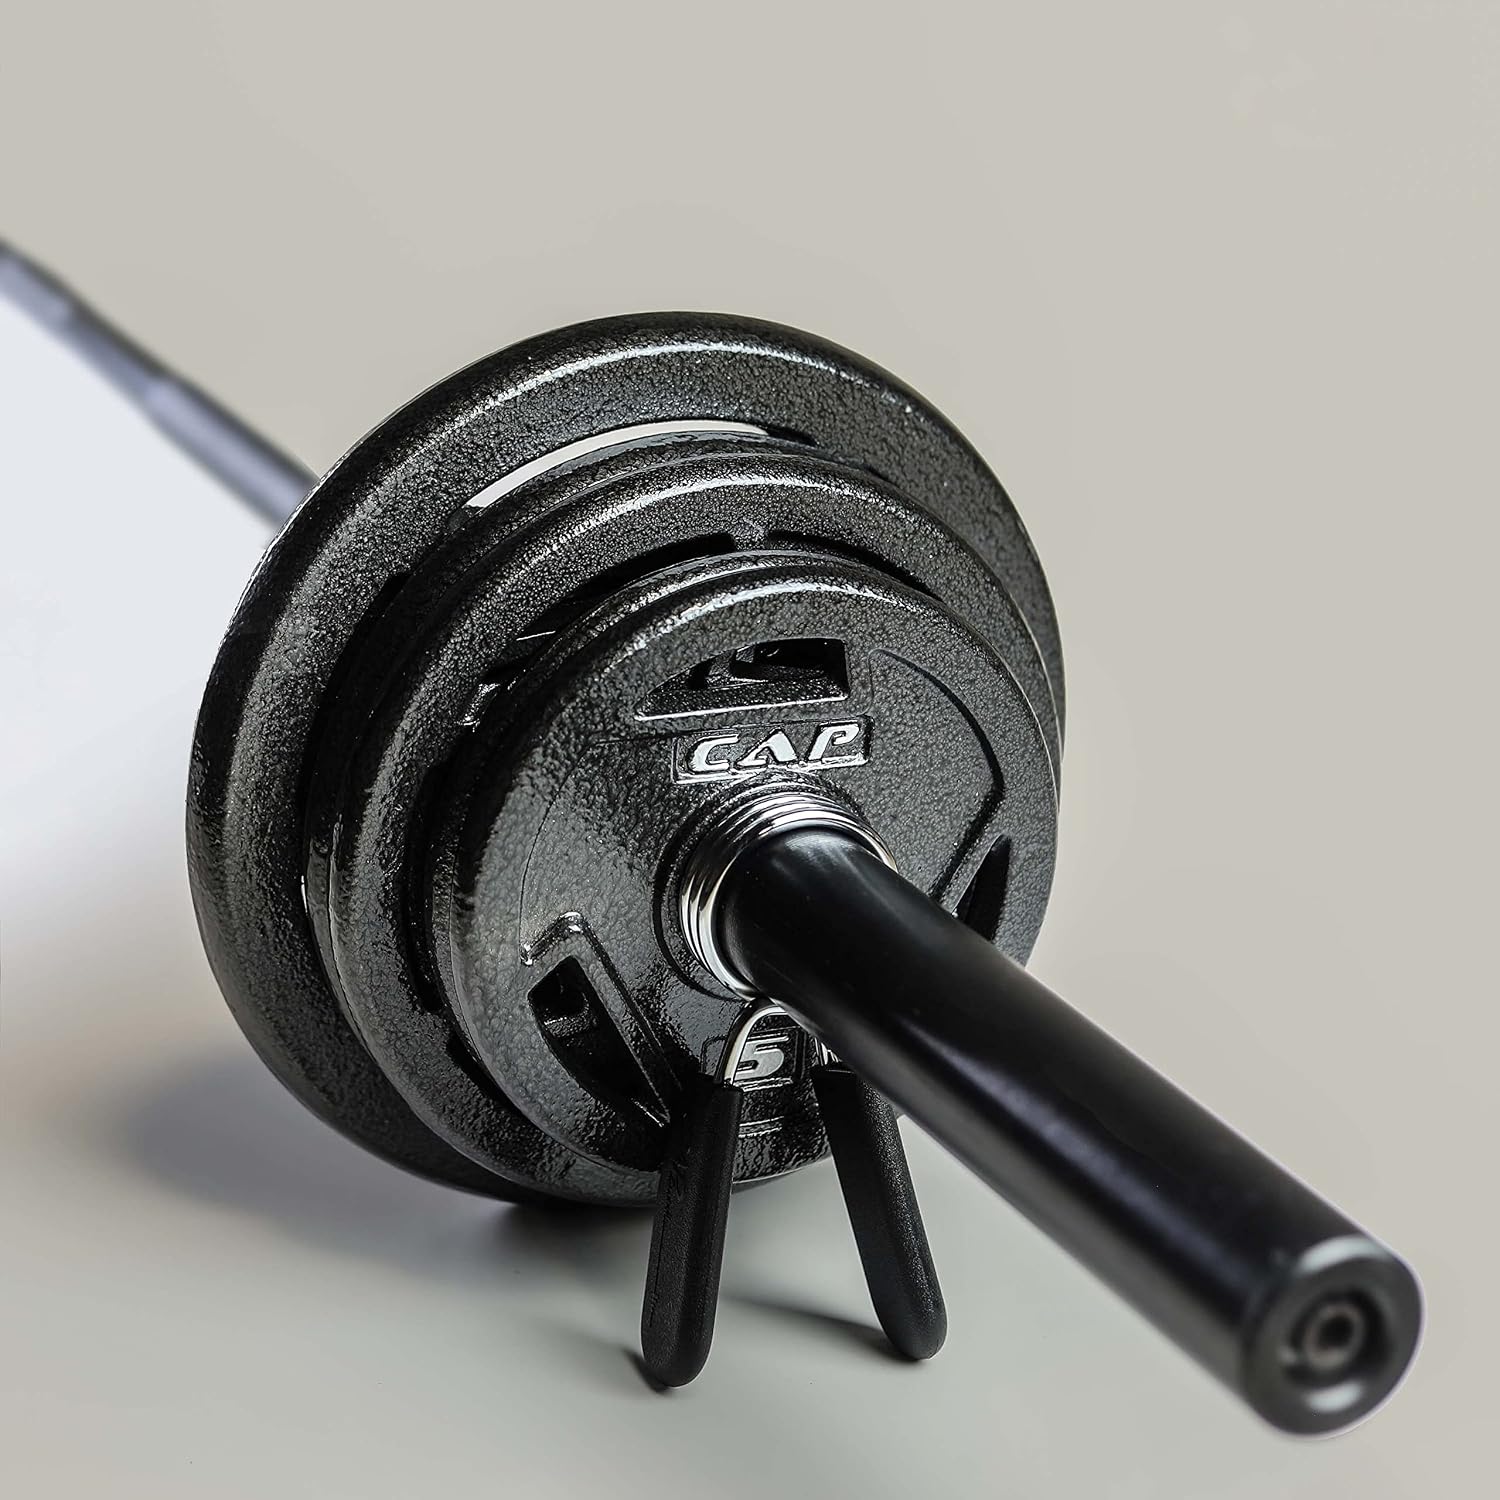
The bar and plates: CAP Barbell Starter Olympic Weight Set | Multiple Options
 Visit on Amazon →
The name says multiple options, and that phrase is doing a lot of work. This listing is a family of configurations, which means the bar and the plate count change depending on what you select. Read the configuration carefully before you order. A set with a starter bar and a few plates is a different purchase than the same listing with a heavier bar and more iron. Check current Amazon price on the exact configuration you pick, not on the cheapest one in the list.
A starter Olympic set is exactly what it sounds like. It gets you a 2-inch sleeve bar and enough cast iron to squat, bench, and deadlift at a beginner's working weights. It is not a competition bar and it is not calibrated plates. It will not spin like a bearing bar and it will not hold tolerance like a set that costs four times as much.
What it will do is let you train. For most people in the first two years, that is the whole job.
Flaws but not dealbreakers: Starter plates vary in diameter and finish, and starter bars vary in knurl and whip. None of that matters until you are pulling heavy enough to care, and by then you will be buying a better bar anyway.
Caveat before you buy: Match the sleeve diameter to your rack's j-hooks, and make sure you are ordering collars if the configuration does not include them. A bar that rolls because nothing is holding the plates is a bad first session.
This is for the lifter who needs iron in the garage this month, not the lifter chasing a competition total this year.
The actual setup workflow
Now the part that matters. Follow this order.
Step one: Measure the space, the ceiling, and your head. Stand where the bar will sit and press your hands overhead. Add a few inches. If the pull-up bar or the ceiling is inside that space, the stand is in the wrong spot. Five minutes here saves a return.
Step two: Check the floor. A concrete slab is the easy case. A wood-framed floor over a basement is not, and no amount of rubber matting turns a springy floor into a slab. If the floor flexes when you walk, the rack will move with it.
Step three: Assemble on a flat surface, not on the mats. Lay the base out on the bare floor, start every bolt by hand, then torque in a cross pattern, working from the center outward. Cross-pattern torquing is how you keep a bolted frame square. Do it in a circle and you will chase a wobble forever.
Step four: Check the hardware before you load anything. If the bolts feel soft or the heads round off under normal torque, replace them with grade 8 hardware from a real fastener supplier. Cheapest insurance in the whole build.
Step five: Set the j-hooks by counting holes, not by eye. Measure from the floor to each hook and make them identical. Asymmetrical hooks mean the bar sits crooked in the rack, and a crooked bar is a crooked unrack.
Step six: Set the safeties. With a stand, the safeties are the entire safety system. Set them one notch below your bottom position so a failed rep lands on steel instead of on you. Test the height with an empty bar before you test it with weight.
Step seven: Load light, then re-torque. Put a plate on each side, squat a few reps, then check every bolt again. Bolted frames settle on the first session. Re-torquing after session one is not optional.
Step eight: Mark the bolts and check them monthly. A grease pencil line across each bolt head and the frame tells you at a glance whether anything has rotated. If a line breaks, something moved. Fix it before the next session.
Step nine: Add weight gradually and listen. The frame will tell you when it is unhappy. A creak, a shift, a hook that tips when you re-rack crooked. Those are signals, not personality. Do not train through them.
Where this setup falls short
Be honest about the ceiling here.
The capacity rating is a limit for the structure, and a stand is not a cage. If you train alone and you are pushing heavy singles, a full cage with a rear frame and pin safeties is a different level of protection. That is a real gap, not a marketing one.
The pull-up bar on a stand is a convenience, not a training station. Strict work only.
The starter bar and plates become the weak link as your numbers climb. A bar that whips and plates that vary in diameter will start to bother you somewhere around the point where your squat gets serious. That is not a defect. That is the natural end of a starter set's life.
And a stand on mats on a wood floor is a compromise stacked on a compromise. If that is your situation, bolt nothing to the floor and keep your loads conservative until you can move to a slab.
What this setup costs and how to think about it
I am not going to quote prices, because they move and because the set listing carries multiple configurations with different numbers attached. Check current Amazon price on both pages and compare from there.
What I will tell you is how to compare. Three questions:
- Does the set include a bar, and which bar? A set with a usable bar is worth more than plates alone, but only if the bar matches the sleeve size you need.
- How many pounds of iron are you actually getting? Divide the cost by the pounds. That is the only honest way to compare two plate sets.
- What else do you still need? Collars, mats, hardware, a second pair of j-hooks. Budget for those before you spend the whole amount on plates.
A starter rack and set is the cheapest part of the home gym journey. The expensive part is the second bar, the calibrated plates, and the cage you buy three years from now. Plan for that and the starter tier is money well spent.
The bottom line
Set the stand up square, torque it in a cross pattern, set your safeties where a failed rep actually lands, and match the bar and plates to the rack before you load anything heavy. Do that and a budget setup will hold while you build the strength to outgrow it.
That is the job. The rack is the one piece of equipment in your garage that has to outlive everything else you own. Treat the setup like it matters, because it does.