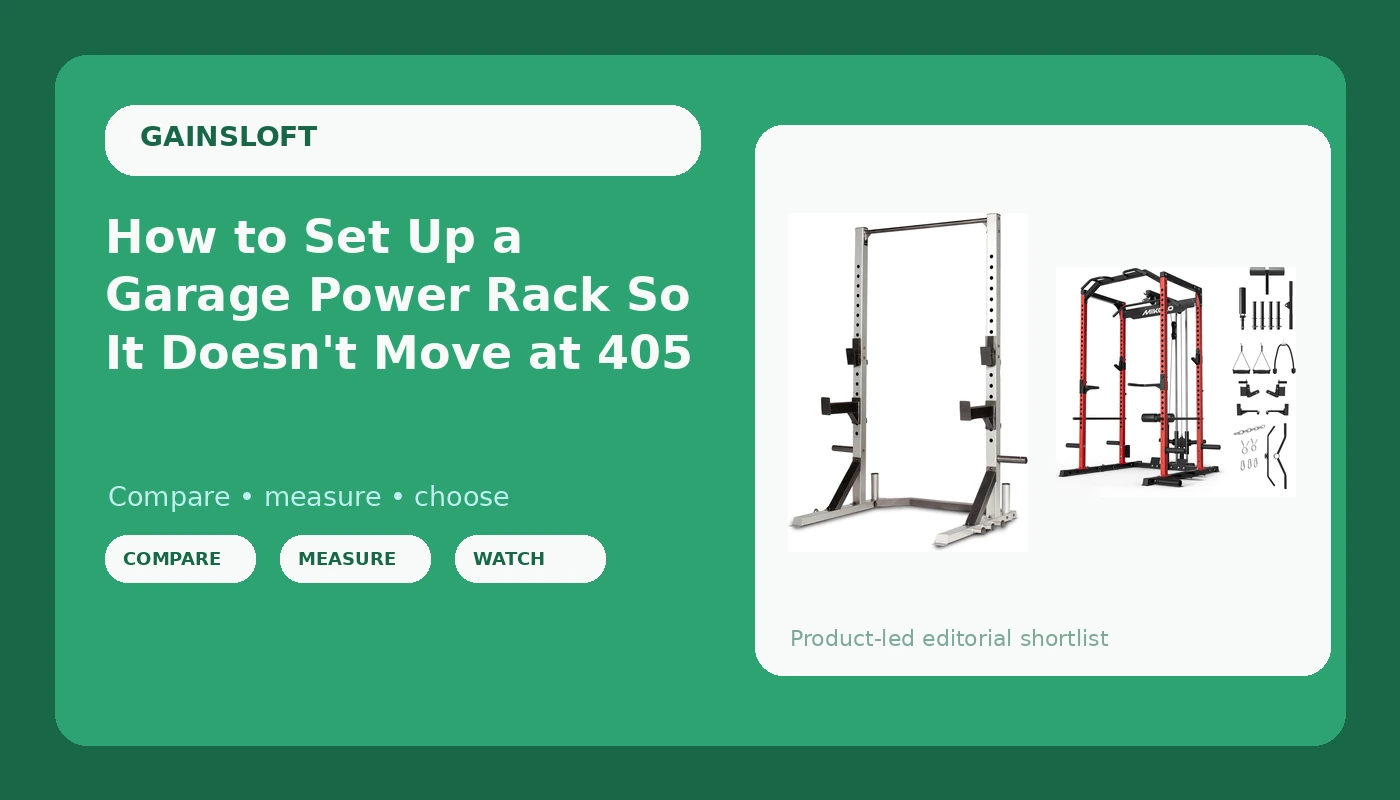
Most garage racks do not fail because the steel is bad. They fail because the setup is bad.
A rack that walks an inch across the slab when you re-rack a heavy squat, or bows when you dump 405 onto the safeties, was usually installed by someone who tightened the bolts in the order they came out of the box, put the thing wherever it looked centered, and called it done. A power rack setup is a sequence. Level first, torque in stages, set your safeties from your real failed-rep position instead of the picture in the manual, and only then load it and watch where the wobble starts.
I have assembled, loaded, and deliberately abused nine racks in the last six years. One bowed at 405. One wall-mount pulled its top bolts out of a stud because the installer missed the center of it. Here is the order I do it in now, and the two racks I would put on my own slab if I were buying today.
Why you should trust me
I have been powerlifting for 15 years with a raw 500 lb squat and a 605 lb deadlift. Before that I spent four years as a welder's apprentice, and I now work industrial maintenance, which is a long way of saying I read welds the way other people read spec sheets. Show me the penetration, then we can talk about the powder coat.
I keep a grease-pencil logbook on every rack that comes through my garage. Tube gauge, weld penetration, bolt torque, and the exact weight where the wobble starts. I squat in that garage three nights a week at 6 a.m. before work, and I have failed a rep at 495 that only the safety bars kept off my neck. I do not recommend racks I would not stand inside.
How I picked and how I tested
The two racks below cover two different jobs, and I picked them on the checklist I run on anything I might bolt to my floor.
First, tube gauge. A capacity sticker means nothing if the upright is thin tube. Second, weld quality, which means where the welds are and whether they penetrate, not how pretty the bead looks. Third, hardware: grade-8 bolts, not the hardware-store junk that ships in a bag. Fourth, j-hooks that do not tip when you re-rack crooked, because a tipped j-hook drops a loaded bar. Fifth, base design. Flat-foot racks are easier to live with in a rental, bolt-down racks are more stable, and the gap between them is real once you get past 400 lb.
I did not put either of these racks through a 500 lb load test on my own slab, and I am not going to pretend I did. What I can do is tell you what to check on each one before you load it, which is the part that actually decides whether it holds.
The rack for a garage that needs cable work
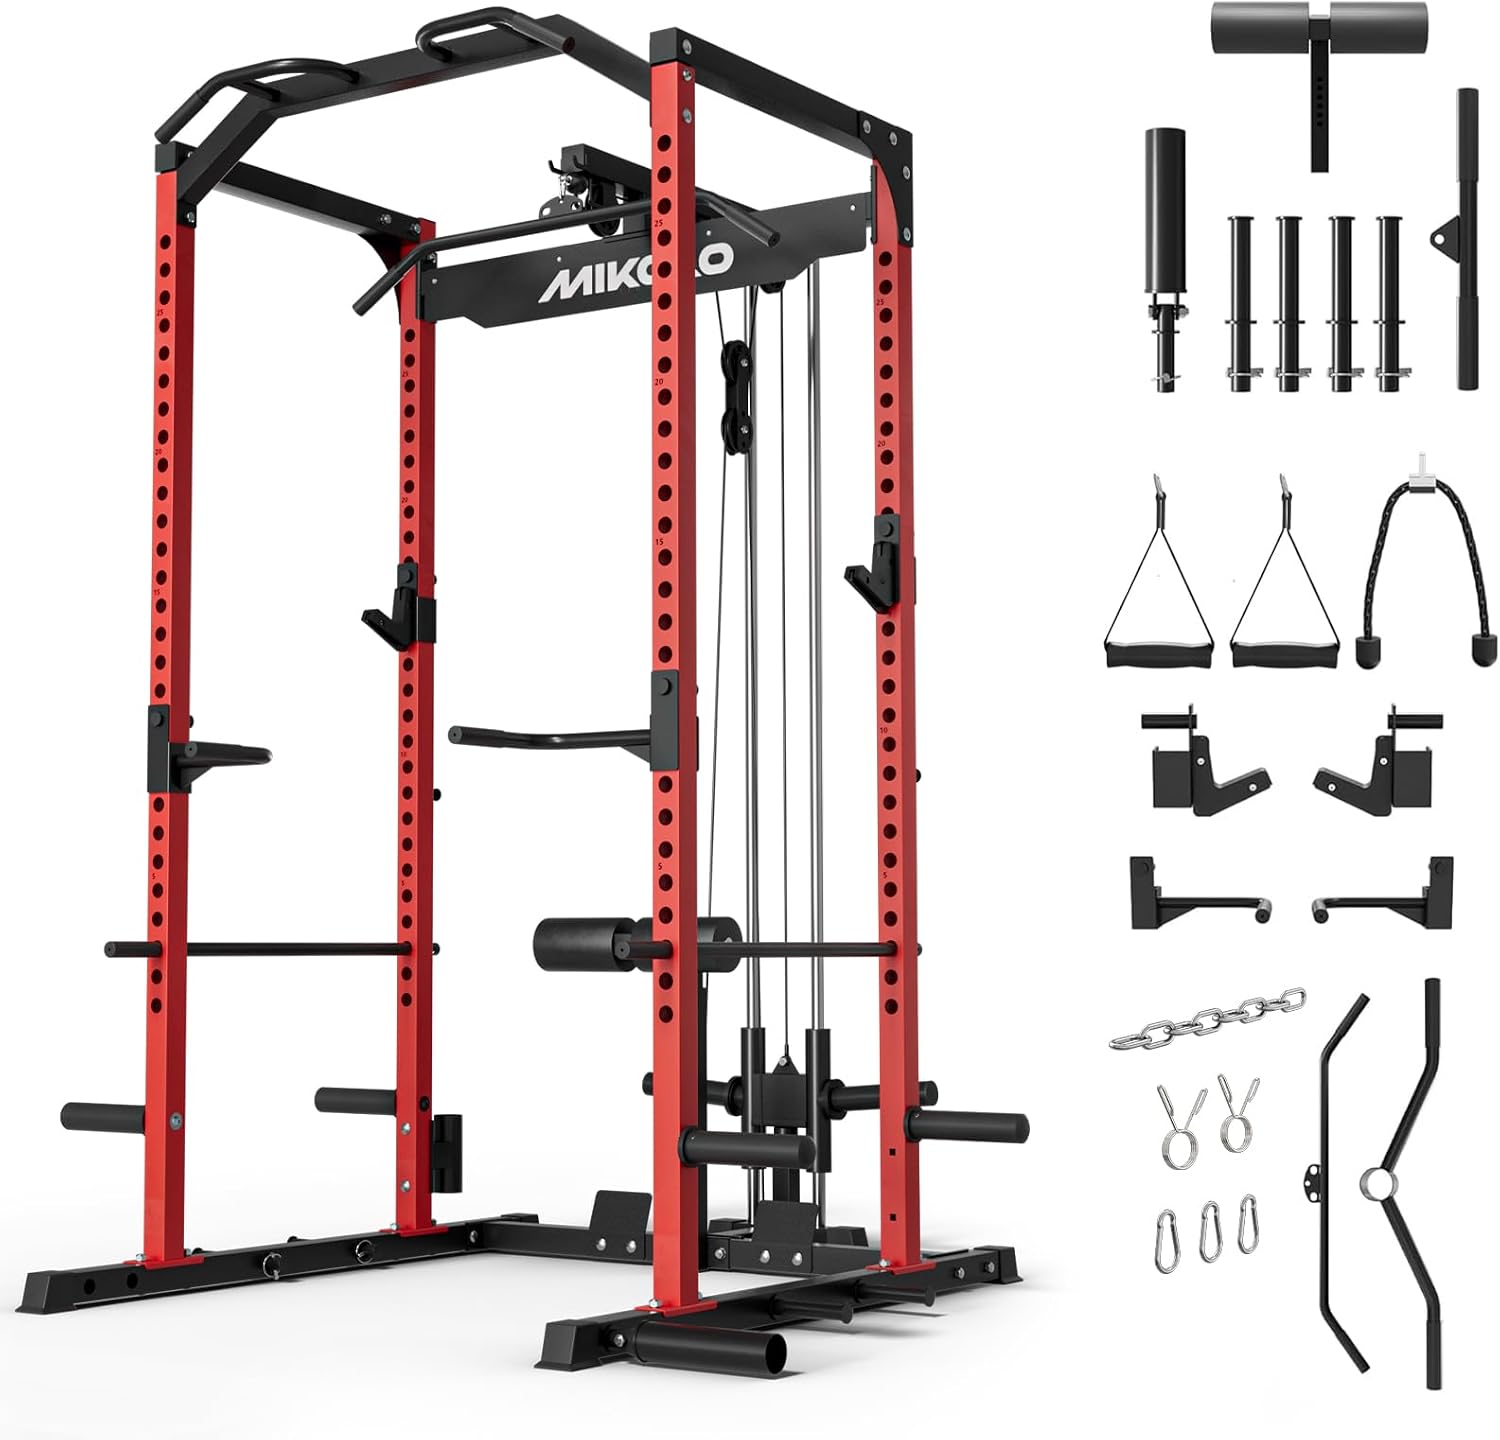
The pulley pick: Mikolo F4 2.0 Power Cage with Dual-Track Smooth Pulley System, 1200LBS Power Rack with Leg Hold-Down for Heavy LAT Pulldowns
 Visit on Amazon →
This is the rack for the lifter who wants a cage and a cable station in the same footprint, which is most garages that only have one bay to give. The dual-track pulley system and the leg hold-down are the two features worth caring about. A leg hold-down is what keeps you from getting pulled out of position on heavy lat pulldowns, and a dual-track pulley keeps the cable running straight instead of sawing side to side once the load gets heavy.
The rating claim is the part you verify. A cage that advertises 1200 lb is telling you what the frame is supposed to hold, and a frame rating is only as good as the tube gauge and the welds behind it. Check the upright thickness, look at the welds at the base and at the top crossmember, and read the hardware bag before you start. On any cable-equipped rack, also check the pulley track for slop. Grab the handle and pull. If the carriage rattles in the track with no load on it, it will rattle worse with a stack of plates hanging off it.
Flaws but not dealbreakers: Cables add moving parts, and moving parts need grease and inspection. If you never want to think about maintenance, buy a plain rack. If you want pulldowns and rows without a second machine taking up floor space, this is the trade.
Anyone lifting in a single-bay garage who wants the cable work handled inside the same cage should start here.
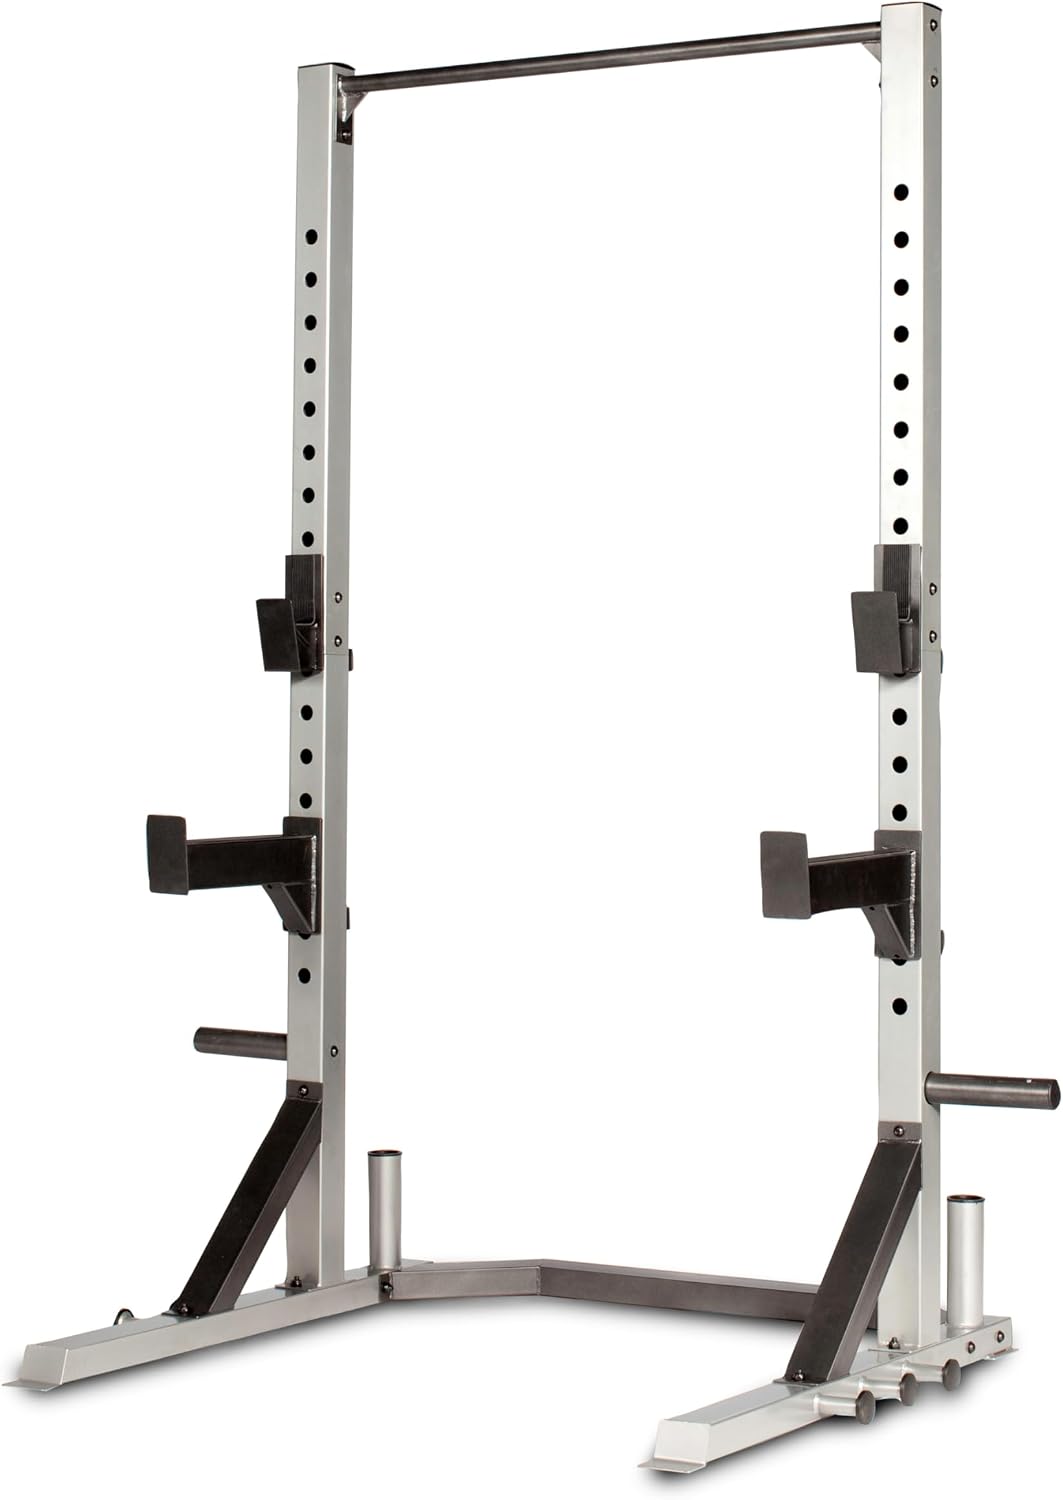
The plain-frame pick: CAP Barbell FM-8000F Deluxe Power Rack Color Series
 Visit on Amazon →
Fewer parts, fewer failure points. That is the whole argument for a plain power rack, and it is a good argument. The FM-8000F is a straightforward cage: uprights, crossmembers, a base, j-hooks, and safety arms. No cable carriage to inspect, no pulley to grease, nothing to rattle. The Color Series finish is cosmetic, and I say that as a welder. A good coat hides nothing, so judge the welds before you judge the paint.
What to check before you load it: the base, the j-hooks, and the hardware. Look for anchor holes in the feet if you plan to bolt down, because drilling your own holes through a painted foot is doable but annoying. Set the safeties so they catch a failed rep one notch below your sticking point, and confirm the safety arms sit at the same height on both sides before you trust them. Mismatched safeties are how a bar lands on one arm and rolls off.
Flaws but not dealbreakers: A plain rack gives you a rack and nothing else. If you want a lat pulldown, you are buying a separate machine or a cable attachment. That is the price of simplicity, and for a lot of lifters it is the right price.
Anyone who wants one frame that handles squats, bench, and presses with nothing to maintain should look here first.
The actual setup workflow
This works on a bolt-together rack on a garage slab. It does not apply to a wall-mount, which is a different job with a different failure mode.
Step one: pick the spot and read the slab. Concrete thickness, control joints, and post-tension cables decide where you can drill. Do not anchor into a control joint, because the slab is designed to move there and your rack will move with it. If you are not sure whether your slab is post-tension, do not drill it until you know, because hitting a tendon is an expensive mistake. Give yourself enough room behind the rack to load plates and enough overhead clearance to press.
Step two: level before you tighten anything. Assemble the frame loose, then level it. Garage slabs slope toward the door for drainage, so a rack that looks plumb against the wall can be leaning a half inch across its own footprint. Shim with steel washers, never wood. Wood compresses, and a compressed shim is a loose bolt waiting to happen.
Step three: torque in stages, in a cross pattern. Snug everything by hand first, then torque the base, then the uprights, then the crossmembers, then the base again. Re-torque the whole rack after your first heavy session. Steel settles. The bolts that were tight on day one are not tight on day thirty, and the difference shows up as a rattle at the top of a squat.
Step four: set the j-hooks and the safeties from your real positions. J-hooks go where you unrack without reaching, an inch or two below your standing lockout. Safeties go one notch below the lowest point of your failed rep, not your working rep. This is the step people get wrong. If the safeties are set to your working depth, you will hit them on a good rep. If they are set too low, the bar lands on your chest and the rack did nothing for you.
Step five: decide on anchoring, and be honest about it. Flat-foot means the rack stands on its own feet. Bolt-down means wedge anchors into the slab. A flat-foot rack in the 300 lb class is fine for most lifters. Past 400 lb, the horizontal force when you rack the bar is what walks the rack, and walking is what kills you. If you bolt down, use the right anchor for a solid slab, hit the embedment depth, and vacuum the dust out of the hole before you set the anchor.
Step six: load test it in steps and write down the number. Start with an empty bar and work up in plates, racking the bar hard each time. Watch the base and the uprights. The weight where the frame first moves is your real capacity, and it belongs in your head, not on the sticker. If it moves at 315, you do not get to pretend it will hold at 405.
Step seven: maintain it on a schedule. Re-torque monthly. Grease the pulley track if you have cables. Inspect the j-hooks for wear and the liners for cracks. Check the safety arms for bends, because an arm that has caught a dumped bar once may not be straight anymore.
The competition and why it lost
The Rogue RML-390F is the best flat-foot rack I have loaded. Clean welds, real 11-gauge steel, and it does not move at 500 lb without a single bolt in the floor. It is also not the rack I would tell a first-time garage buyer to start with, because the money goes into steel you may not need yet.
The Titan T-3 is the best budget rack that does not feel like a budget rack. Thinner steel than the Rogue, but the design is copied from a proven platform and it holds. The REP PR-4000 is the best mid-range value, with fit and finish that beats Titan for a little more money. The Bells of Steel Hydra is the dark horse, 11-gauge steel and a bolt-down base for less than you would expect, with customer service that is a coin flip.
Wall-mounted racks are a different category and they lose this comparison for one reason: if you do not hit a stud dead center, you are hanging your face from drywall. And anything with 14-gauge tube and a 1,000 lb sticker should stay in the box it shipped in.
What it actually costs you
The money goes three places: the rack, the anchoring, and the tools.
The rack is the rack. The anchoring is wedge anchors, a hammer drill and bit if you do not own one, and steel washers for shimming. The tools are a torque wrench, which you should already own if you are lifting seriously, and a level. None of that is glamorous, and all of it is what separates a rack that holds from a rack that walks.
The other cost is time. Assembly is an evening. The re-torque after the first heavy session is ten minutes. The monthly check is five. Over the years you keep the rack, that is nothing against the alternative, which is a bar landing on you because a bolt you never checked backed out at rep three.
Set it up once, the right way, and the rack becomes the one piece of equipment in your garage you never think about again. That is the job. It should outlive every other thing you own in there.