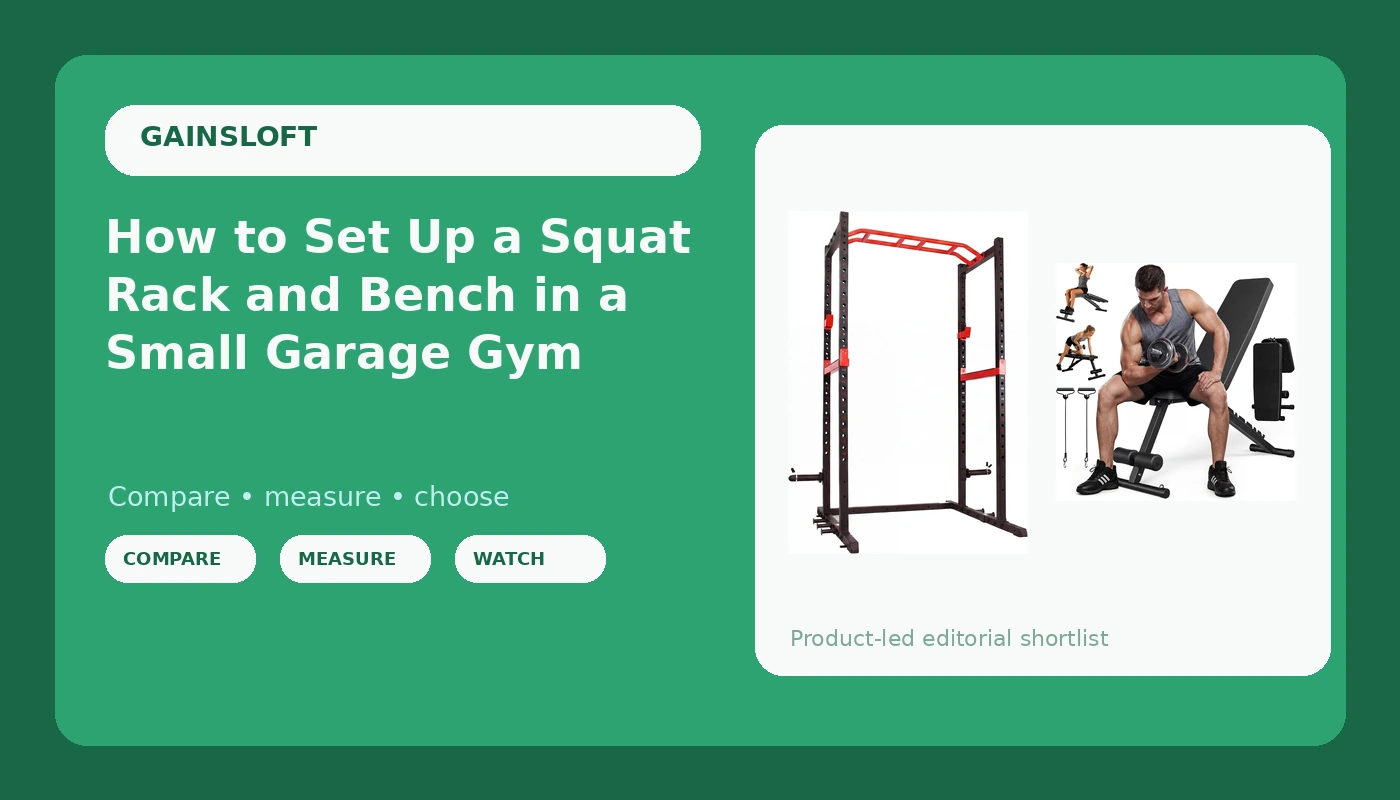
Most home gyms do not fall apart because somebody bought the wrong barbell. They fall apart at the two pieces of steel that carry the load and carry your body: the rack and the bench. Get the home gym squat rack and bench setup right and you can train alone in a garage for ten years. Get it wrong and you find out mid-rep, with three plates overhead and nobody else in the house.
I'm Andre. I've been squatting in a garage in Charlotte, North Carolina for six years, and before that I spent four years as a welder's apprentice, which is why I read a weld bead the way most people read a spec sheet. In those six years I've assembled, loaded, and deliberately abused nine squat racks. One bowed at 405 pounds. One wall-mount pulled its top bolts straight out of a stud. I keep a grease-pencil logbook on every rack that comes through my garage: tube gauge, weld penetration, bolt torque, and the exact weight where the wobble starts.
This is the setup guide I needed in 2019. It covers how to read the steel before you spend money, how to anchor what you buy, and how to set your safety bars and your bench so a missed rep is a story instead of a hospital bill.
Why you should trust me
I've squatted 500 pounds raw, and I've failed reps at 495 in my own garage at 6 a.m. before work. The safety bars caught them. That is the entire job of a rack, and it is the reason I don't recommend anything I haven't thought through at working weight.
Before the barbell, I welded. Four years as an apprentice taught me that a pretty bead with no penetration is a lie wearing a tuxedo. I have cut failed welds apart with a grinder to see how deep the fusion actually went, and I have watched a 1,000 pound capacity sticker sit on 14-gauge tube that flexed when a 225 pound lifter racked a squat.
I don't care how a rack photographs. I care what happens when the bar comes down at an angle, when you re-rack crooked, and when you're the only person in the building.
How I picked and how I tested
This guide is about setup and verification, not about which sticker looks best in a listing photo. When a rack comes into my garage it gets the same treatment every time: calipers on the uprights to check real tube thickness against the claimed gauge, a flashlight along every weld at the base plates and the j-hook brackets, a look at the grade stamped into the bolt heads, and a progressive load test that starts at 135 pounds and climbs until the rack tells me something.
I have not loaded every rack on the market, and I won't pretend a $300 cage is a $1,200 one. What I can do is tell you exactly what to check on the two pieces below, so that you're the one making the call instead of a marketing department.
The two pieces I'd start a compact garage gym with are a full cage and a folding adjustable bench. Between them they cover squat, bench, press, rows, and every accessory you'd want in a single-car bay. Everything else is a nice-to-have.
The rack: the one purchase that has to outlive the rest
The rack is the only piece of equipment in your gym that has to survive every other piece you own. Bars bend. Plates get sold when you move. A good rack stays.
That's why I put the rack first in the budget and the bench second, no matter how tempting the reverse looks while you're pricing a build. Three rules, in order of how much they matter:
Steel gauge beats capacity stickers. A sticker is a legal document. Tube thickness is a fact. If a rack claims four figures of capacity and the uprights flex when you push on them, the sticker is marketing and the flex is physics.
Weld quality beats powder coat. A beautiful finish hides everything. Put a flashlight on the weld where each upright meets its base plate. You want a smooth, even bead that flows into both pieces of metal. You do not want a lumpy bead sitting on top of the steel like a caterpillar, or a visible gap at the toe of the weld. That gap is where cracks start.
Hardware grade beats assembly speed. Grade 8 bolts have six radial lines on the head. Hardware store bolts usually don't. On a rack, the bolts are the connection between you and the floor, so it's worth ten minutes with a flashlight before you tighten anything.
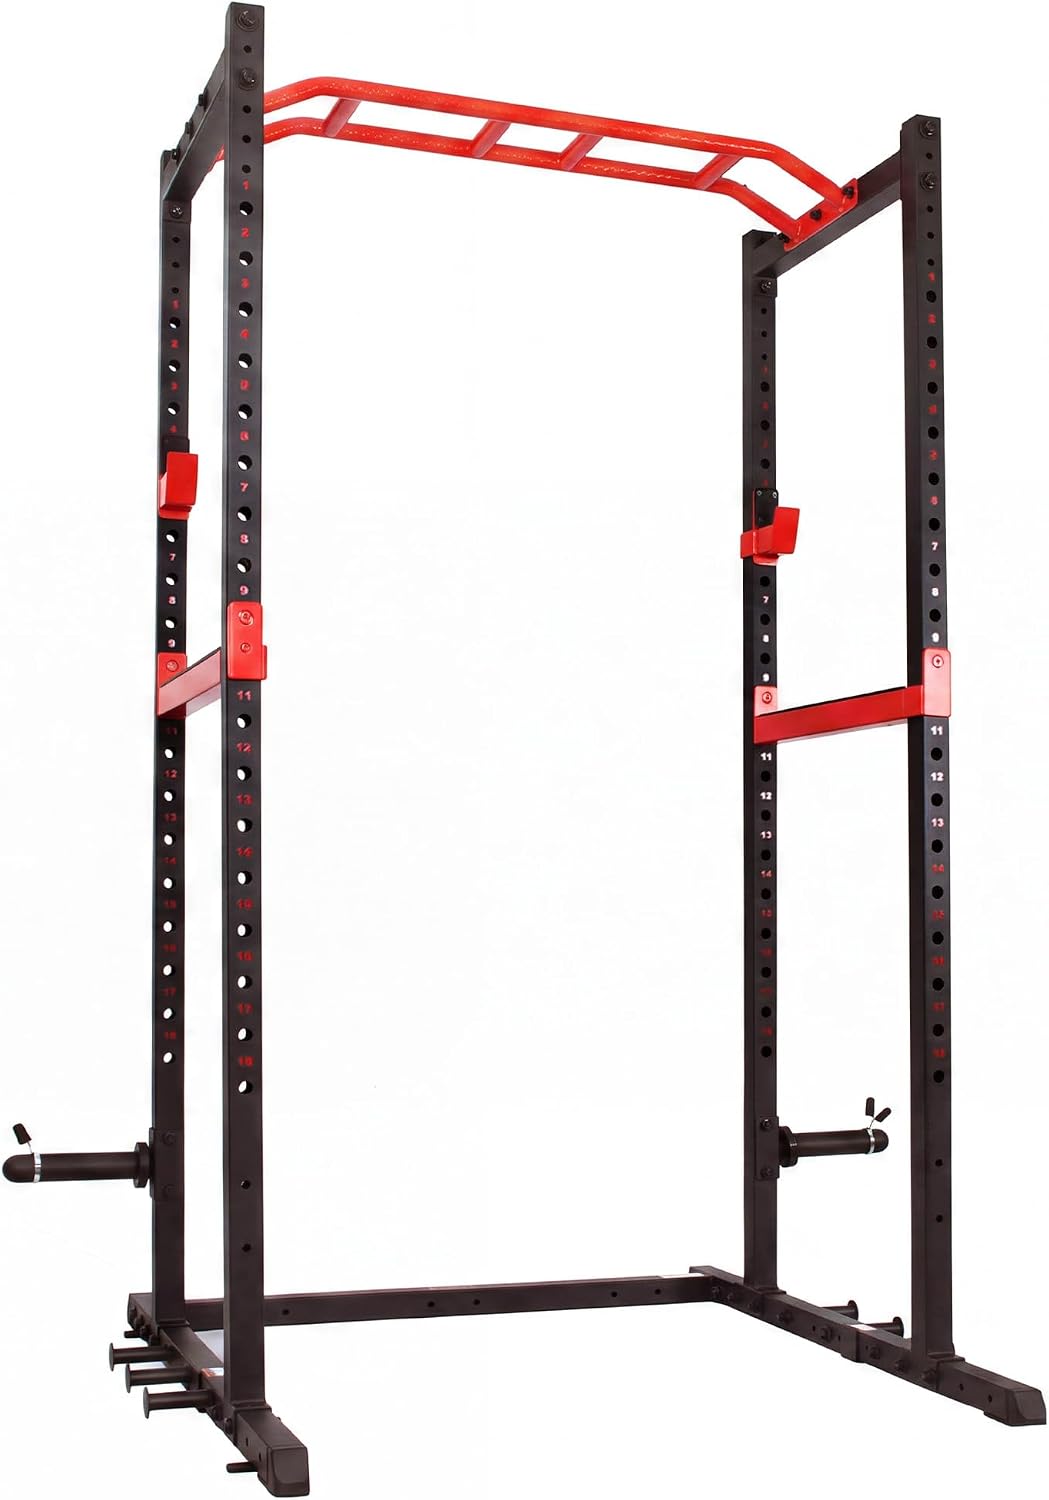
Budget pick: Sunny Health & Fitness Power Rack & Cage Systems for Home Gym Training
 Visit on Amazon →
Sunny sells this as a power rack and cage system for home gym training, and that's the honest way to read it: a full cage with a footprint that fits a garage bay, uprights to hold your bar, and a frame to hang safety bars on. For a home lifter running squats, presses, and pulls in a single-car garage, that is the job description. A full cage means you can fail a rep in any direction and still have steel between you and the floor.
What I'd verify before you load it, in this order. Stand inside the cage and push the uprights apart with both hands. Then push them front to back. Any movement at the base plates is the thing you need to solve before you squat, and the fix is usually anchor bolts, not a return label. Next, walk the base with a flashlight and look at every weld. Then check the j-hooks: set a bar in them, re-rack slightly crooked on purpose, and see whether the hook tips or stays put. Cheap hooks tip. That's how people miss the hook and eat a loaded bar.
Flaws but not dealbreakers: Racks in this class are built for home training loads, so if you're moving serious weight, plan on anchoring it and plan on upgrading the j-hooks. Neither is expensive, and both are cheaper than a trip to the emergency room.
Anyone building a first garage gym in a single-car bay, or a renter who wants a full cage they can break down later, will get the most out of this one.
The bench: where people cheap out, and where it hurts
The bench is the second-most dangerous thing in your gym after the rack, and it's the piece people buy last with whatever money is left. That math is backwards. You bench under a loaded bar with your shoulders pinned and your feet planted, and the only thing between the bar and your chest is the pin in that backrest.
A flat bench is all a powerlifter strictly needs. Adjustable is a luxury, but it's a luxury that turns one bench into an incline press, a seated press station, and a row platform. In a small garage, that flexibility is worth real money.
Our pick: Adjustable Weight Bench for Home Gym, 600LBS Capacity Foldable Workout Bench with 7 Backrest Positions for Full Body Exercise, Compact for Small Spaces, Incline Decline Flat Bench with Quick Adjustment & Easy Folding
 Visit on Amazon →
This is the folding adjustable bench I'd point a small-garage lifter toward. Seven backrest positions covers flat, incline, and decline, the quick adjustment matters more than it sounds because you'll change positions between sets, and the fold is the whole reason it makes sense in a garage where the car still has to park at night.
Treat the 600 pound capacity as a claim to verify, not a promise. I say that about every bench, including the ones I like. The number that matters is not the sticker, it is what the bench does under a loaded incline, because incline is the position where benches actually fail. The load moves up the pad and the pin takes the torque.
Here is the test I run on any folding bench before I trust it. Set it flat, grab the pad with both hands, and try to twist it side to side. Set it to every incline position and push down hard on the top edge of the pad. Then fold it and unfold it five times and check the hinge for slop. If the pin engages with a positive click and nothing shifts when you lean on it, you're in business.
Flaws but not dealbreakers: Folding benches trade a little rigidity for storage, and the pad on any compact bench is narrower than a competition bench. That matters for your setup, not your safety. Learn where the pad edges are before you go heavy.
Anyone lifting in a garage, a spare bedroom, or a rental who needs the floor space back when the session ends should start here.
The setup: eight steps from flat boxes to a loaded bar
Step one: measure the room, including the ceiling. You need headroom to stand a loaded bar up on the uprights and to press overhead. Measure the rack height, then measure your ceiling with the garage door open. Then lay out the footprint with tape on the floor and walk it. If you can't step behind the bar to unrack a squat, the rack is in the wrong spot.
Step two: figure out your floor before you drill. A garage slab is usually your best anchor. Check for control joints, and if you have any reason to think the slab is post-tensioned, stop and find out for certain, because drilling a tensioned cable is a genuinely bad day. When you do anchor, wedge anchors into a solid slab are what I use.
Step three: inspect the steel before assembly. Do this while everything is still in pieces and easy to see. Flashlight on every weld. Six lines on the bolt heads if you can get them. Calipers on the uprights if you own a pair.
Step four: assemble loose, then torque. Hand-tighten everything first so the frame can settle square. Then torque in a cross pattern, like you'd do on a wheel. Re-check the bolts after the first week of training, and again after a month. New racks settle.
Step five: level it, then decide about anchoring. Shim the feet with steel shims, not cardboard and not wood. A rack on a sloped garage floor will rock, and rocking is the thing you're trying to eliminate. If it still moves once it's level, bolt it down.
Step six: set the j-hooks and safety bars. J-hooks just below the height where you unrack, so you can get the bar out with a small lift. Safety bars just below the bottom of your squat, low enough that you can dump the bar and still slide out from under it. Get this wrong and the safeties become a trip hazard instead of a spotter.
Step seven: test the safeties on purpose. Load a light weight, get under the bar, and fail the rep deliberately. Let it settle onto the safety bars. Do this at 135 pounds, not at your working weight. You want to know what it feels like to dump a bar before you have to do it for real.
Step eight: load it in steps. Add weight in jumps. At each jump, re-rack the bar hard and watch the base plates. If a foot lifts, stop and anchor. If nothing moves, keep going.
The competition and why it lost
Wall-mounted racks are excellent space savers, and I've used them. They're also the only category of rack I've seen fail catastrophically, because everything depends on hitting a stud dead center with the right anchors. If your studs don't land where the rack needs them, you're hanging your face from drywall. In a garage with exposed studs and a plan, they work. In a finished room, I'd rather have a cage.
Flat-foot racks are the other popular answer, and they're legitimate. A well-built flat-foot rack doesn't need a single bolt in the floor. The catch is that the good ones cost more than the cages in this class, and the cheap ones flex at the base and call it a feature. Bolt-together is fine. Wobble is not.
Combo racks and squat stands save money and floor space, and for a lifter working under 225 pounds with a spotter, they're a reasonable call. For anyone training alone, a full cage with real safety bars is the only version of this I'd recommend. The rack catches you. That's the whole point.
Fixed flat benches beat folding benches on rigidity, every time. They also take up the same floor space whether you're using them or not, which is why the folding adjustable bench gets the nod for a garage that has to hold a car.
What this all costs, and where the money should go
The rack is the biggest line in a home gym budget, and it should be. It's the piece that outlives everything else and the piece that keeps you alive when a rep goes wrong. Buy the rack first, then the bench, then the bar, then the plates.
The bench is the cheapest piece that matters most. A folding adjustable bench in this class costs less than most people spend on a single pair of bumper plates, and it unlocks an entire second half of your training. That's the best value in the room.
What to skip: the attachment arms, the landmine kits, the cable crossover you'll use four times. Every dollar you move from accessories into the rack is a dollar spent on the one thing in your gym that cannot fail.
Bolting a cheap rack to the floor does not turn it into a good rack. It hides flex. Buy the best cage your budget allows, anchor it properly, and spend your energy on the setup instead of the shopping.
The short version
Read the welds before you read the reviews. Check the tube gauge against the capacity sticker. Level the rack, anchor it if it moves, and set your safety bars where a failed rep can actually land. Test the safeties at 135 before you need them at 400. And check the bench pin at every incline position before you load it, because the bench is where people cheap out and it is the second-most dangerous thing you own.
Do that once, and the rack becomes the piece of equipment you never think about again. That's the goal. You should be thinking about your squat depth, not your base plates.